Below are the major renovations I’ve done to my own properties in Salt Lake City over the last six years. Since I can’t even hammer a nail in straight, I have hired either General Contractors or specialized professionals (e.g., tilers, flooring installers, plumbers) to complete the work. Once I’m ready to begin a rehab, I go through the following steps:
- Choose an identity for the property
Is it going to be Mediterranean Villa? Farmhouse? Industrial? I love Pinterest as a way to draw inspiration for the look and feel of the property. - Create project tracker
Keep track of everything that needs to be done, by whom, what materials are going to be used, cost of materials, cost of labor, and status. Create links to the materials (e.g., tile, countertop) and supplies (e.g., light fixture, vanity) so you can easily reference them later and remember where you got what. - Choose the materials and create concept plan
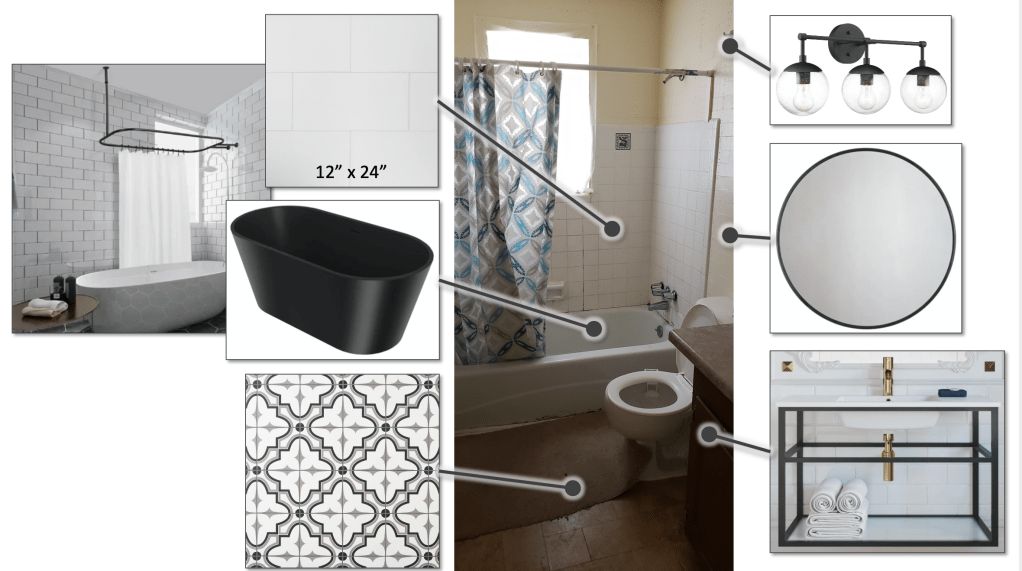
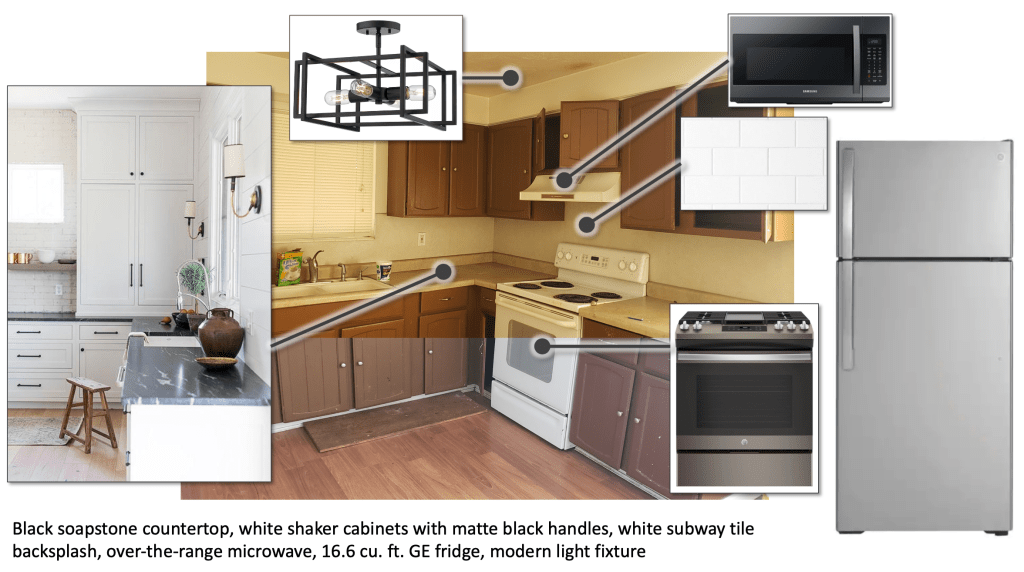
Once I’ve chosen the exact flooring, tiles, light fixtures, countertop, paint colors, appliances, vanities, hardware, etc., I make a link to each in the project tracker and then create a concept plan in PowerPoint that visualizes what goes where. (See the concept plans for Bathroom 1 and Kitchen 2.) I then share this with my GC so he is super clear on everything that needs to happen. - Purchase the materials
Now it’s time to purchase everything and have it all shipped directly to the rehab site! For many of these items, I first need the measurements taken by my GC. For tiles, I recommend purchasing 50% more than you think you need. I’ve been in situations where despite getting 20% more as a buffer, I still ran out due to the way tiles needed to be cut, and then had to wait another 2 weeks to get more tiles, or had to choose completely different tiles to complete the project. - Check in on progress
Ensuring everything is done right requires constant communication with my GC. We text almost every day and/or have a quick video call so I can see how things are going. Seemingly minor decisions can really change the look and/or functionality of a remodel (for example, the grout color, the tile pattern/orientation, the location of the toilet paper holder) so it’s important that the contractors check with me for everything before installing something.
Here is a diagram depicting the high-level steps in renovation that you can download:
Below are some examples of the updates I’ve done.
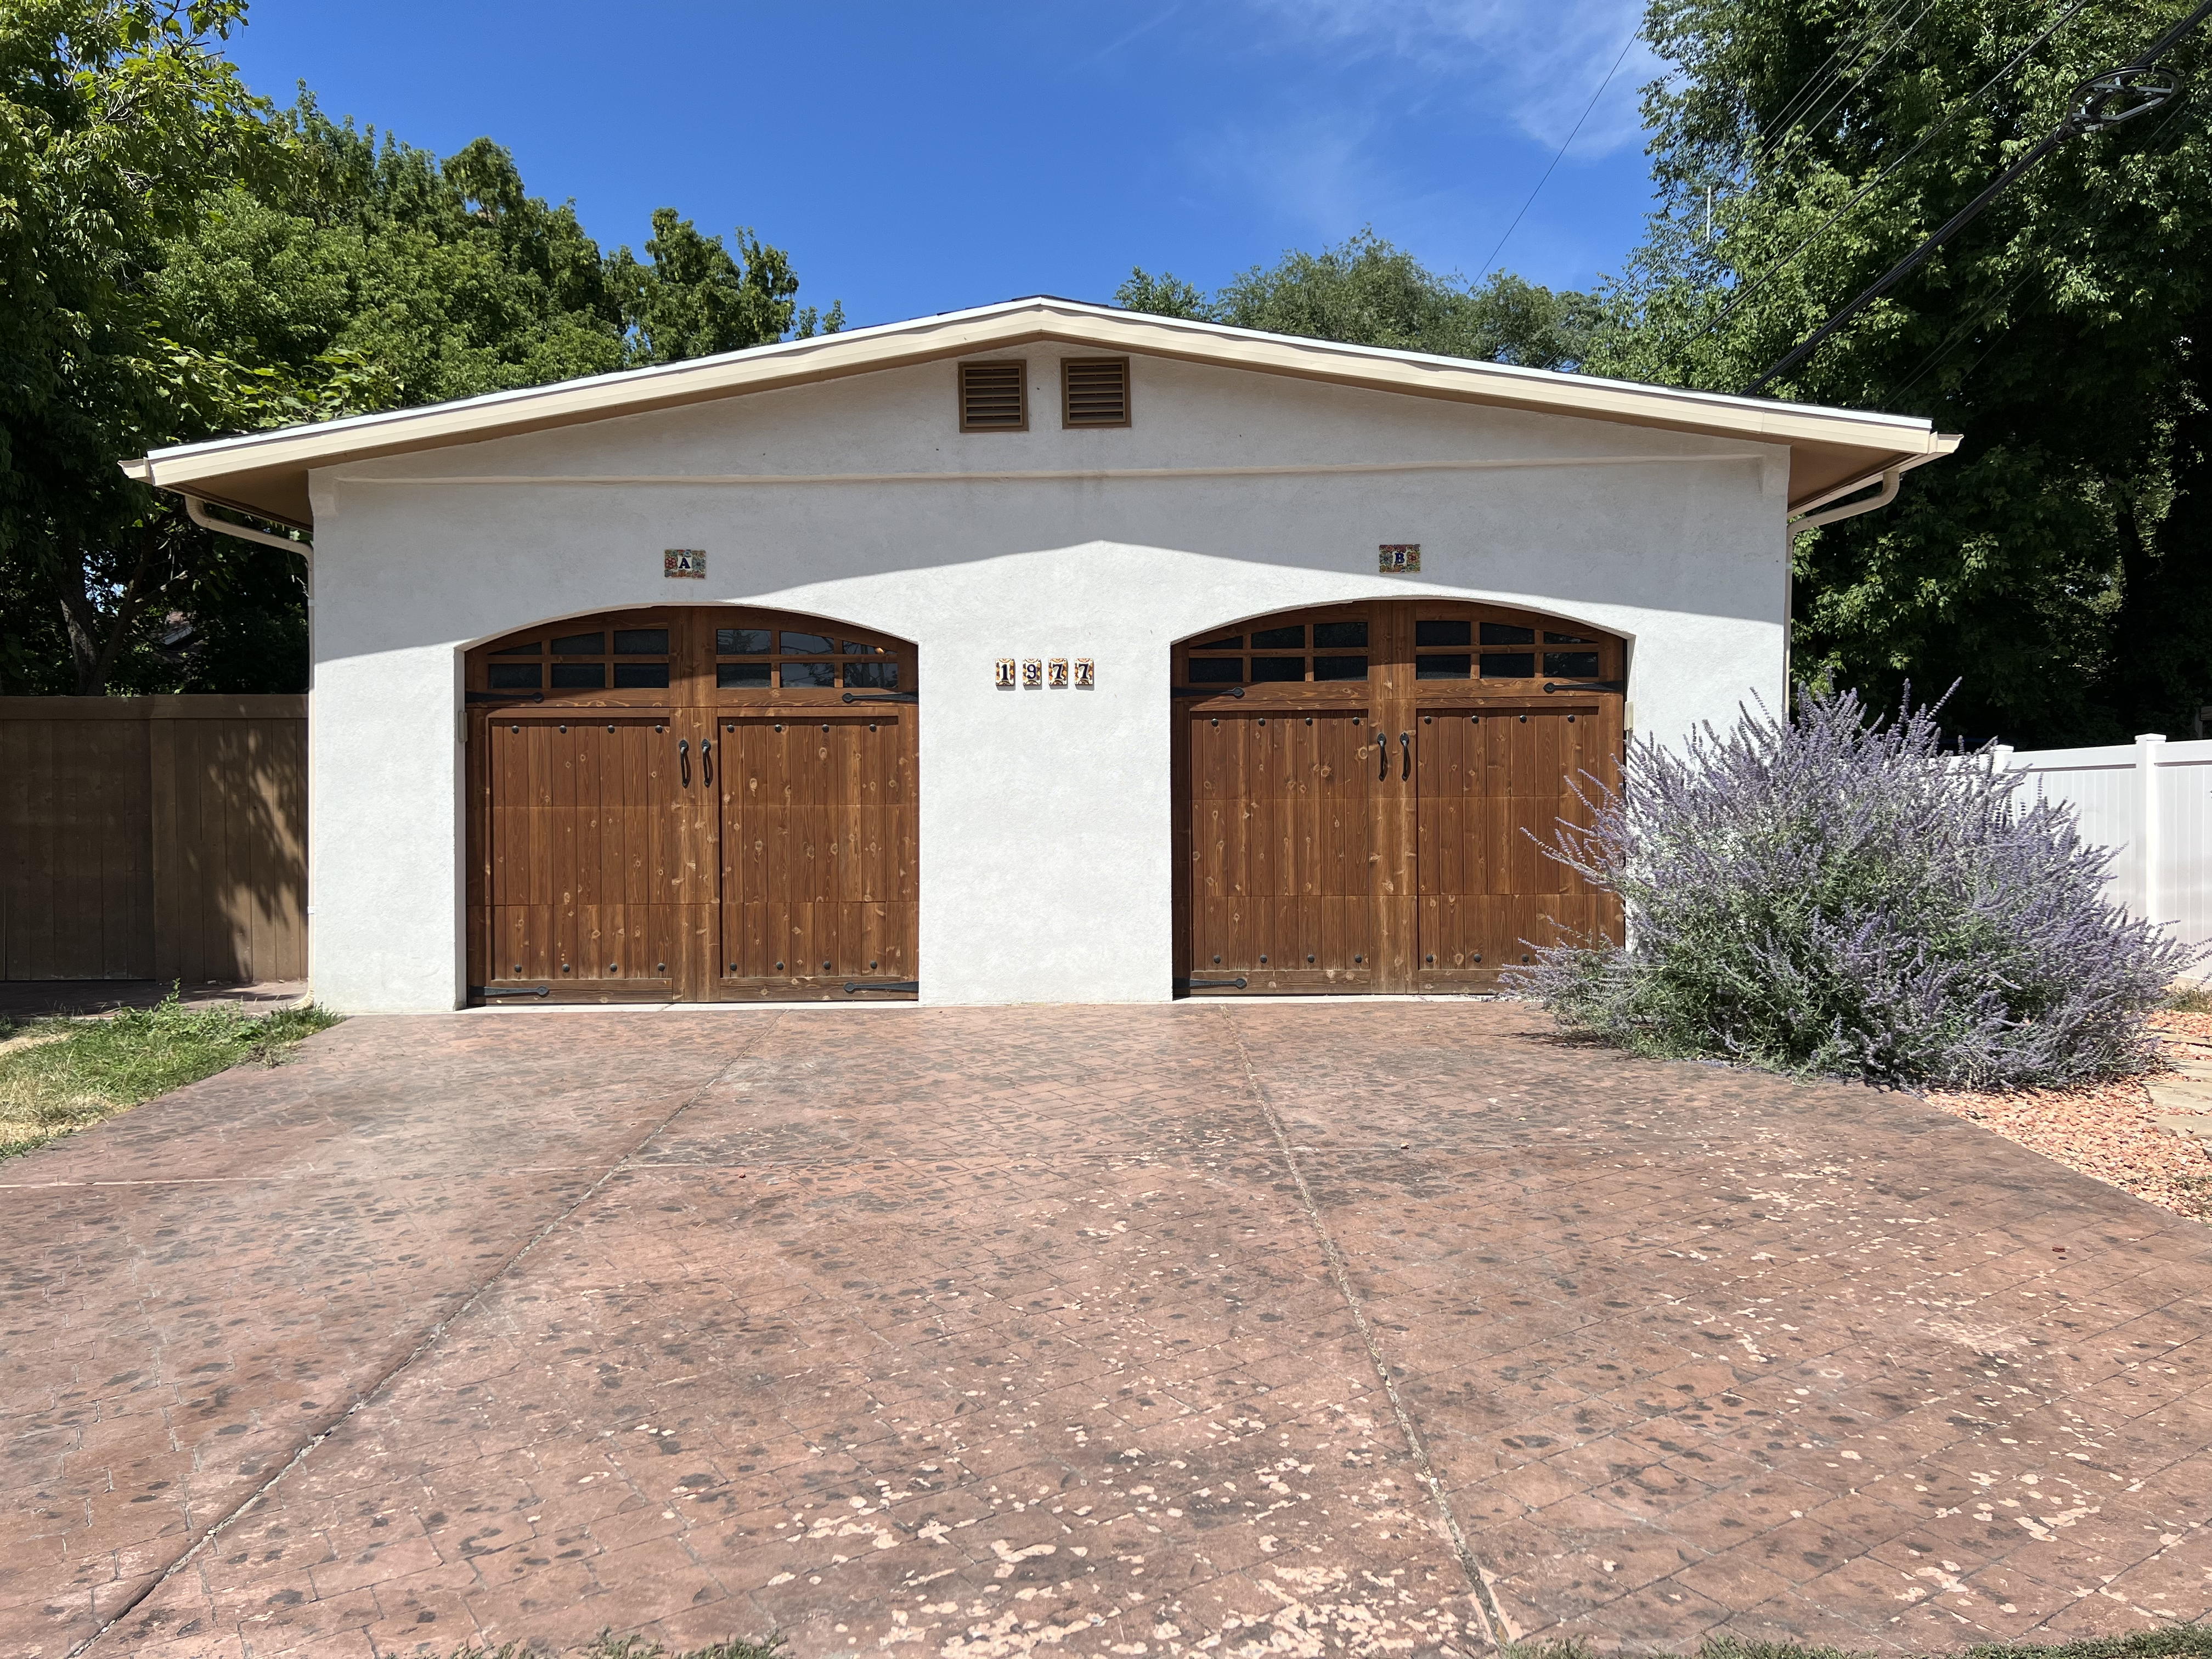
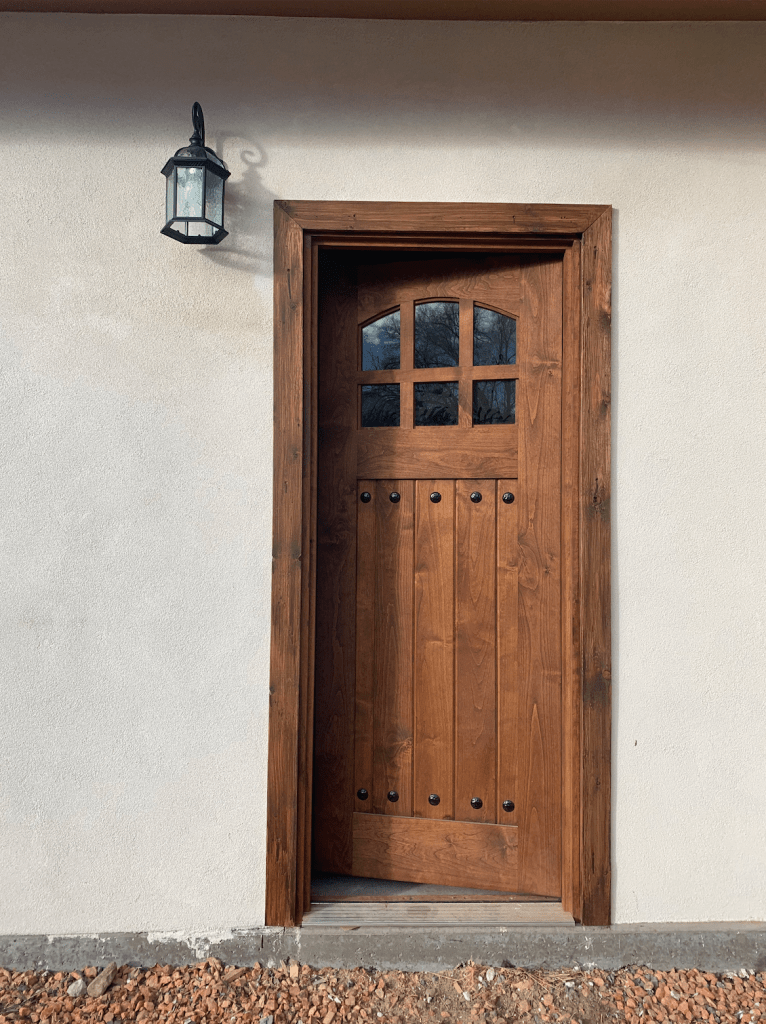
Carport to garage conversion


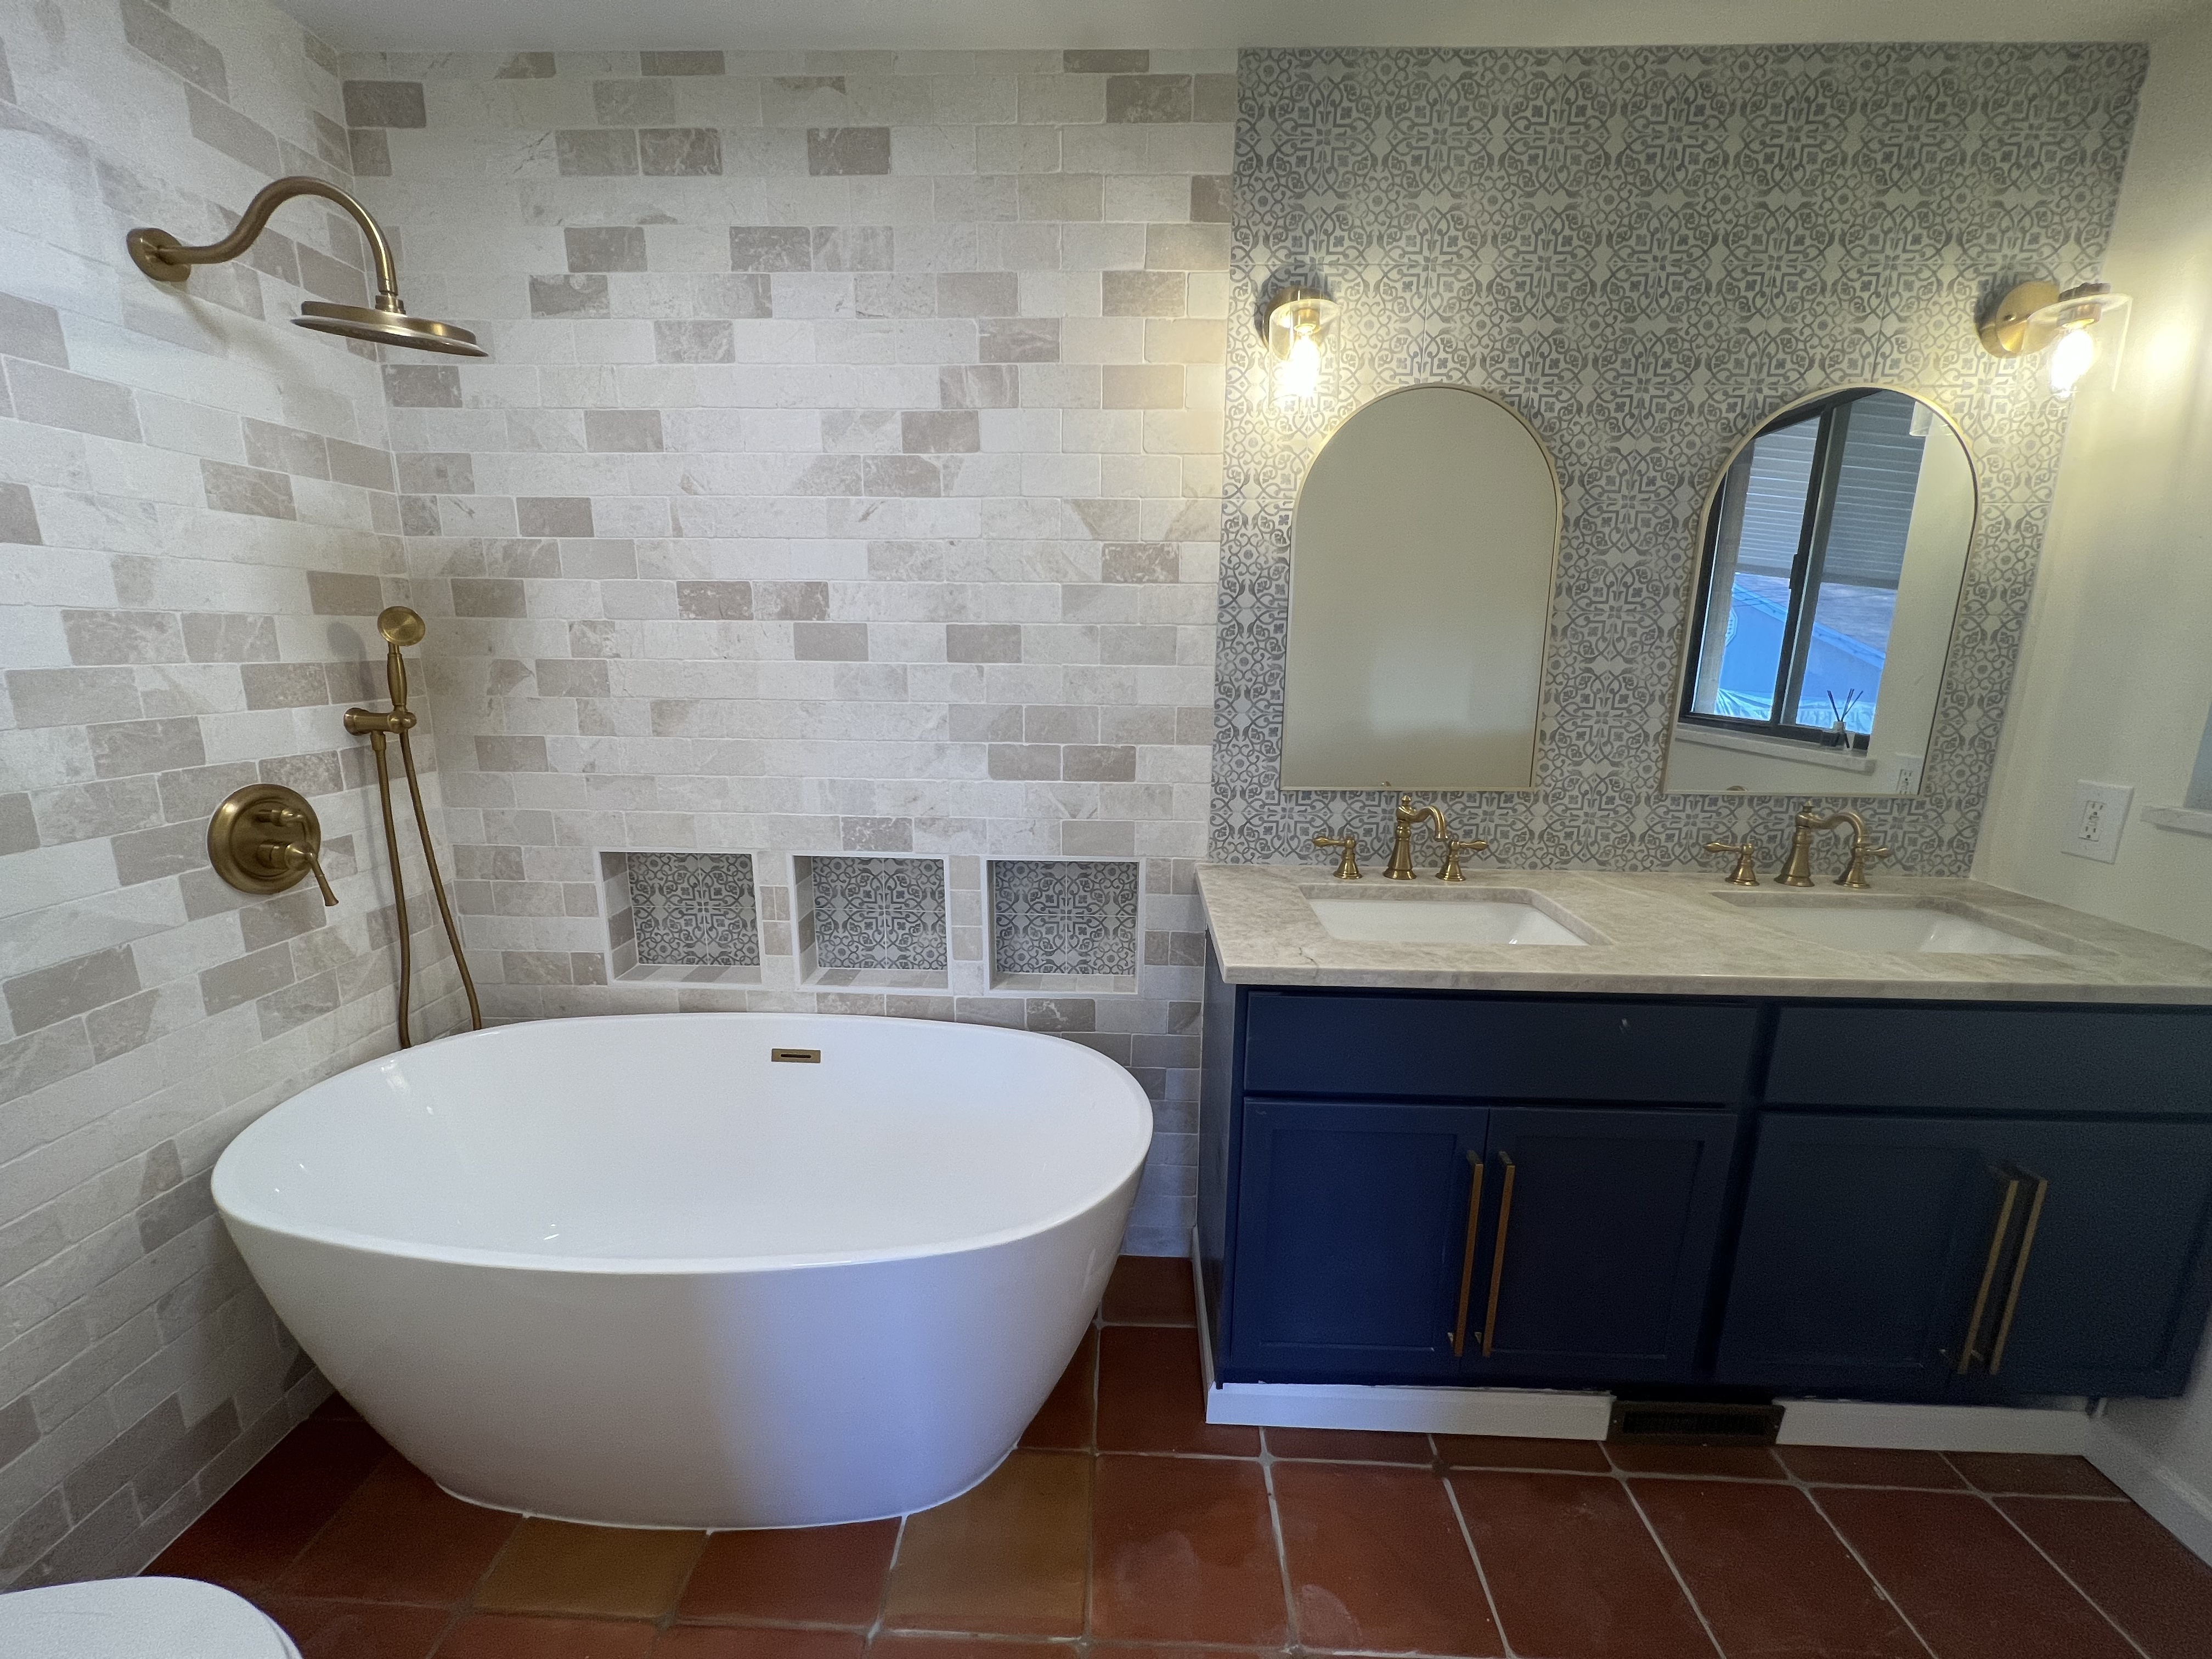
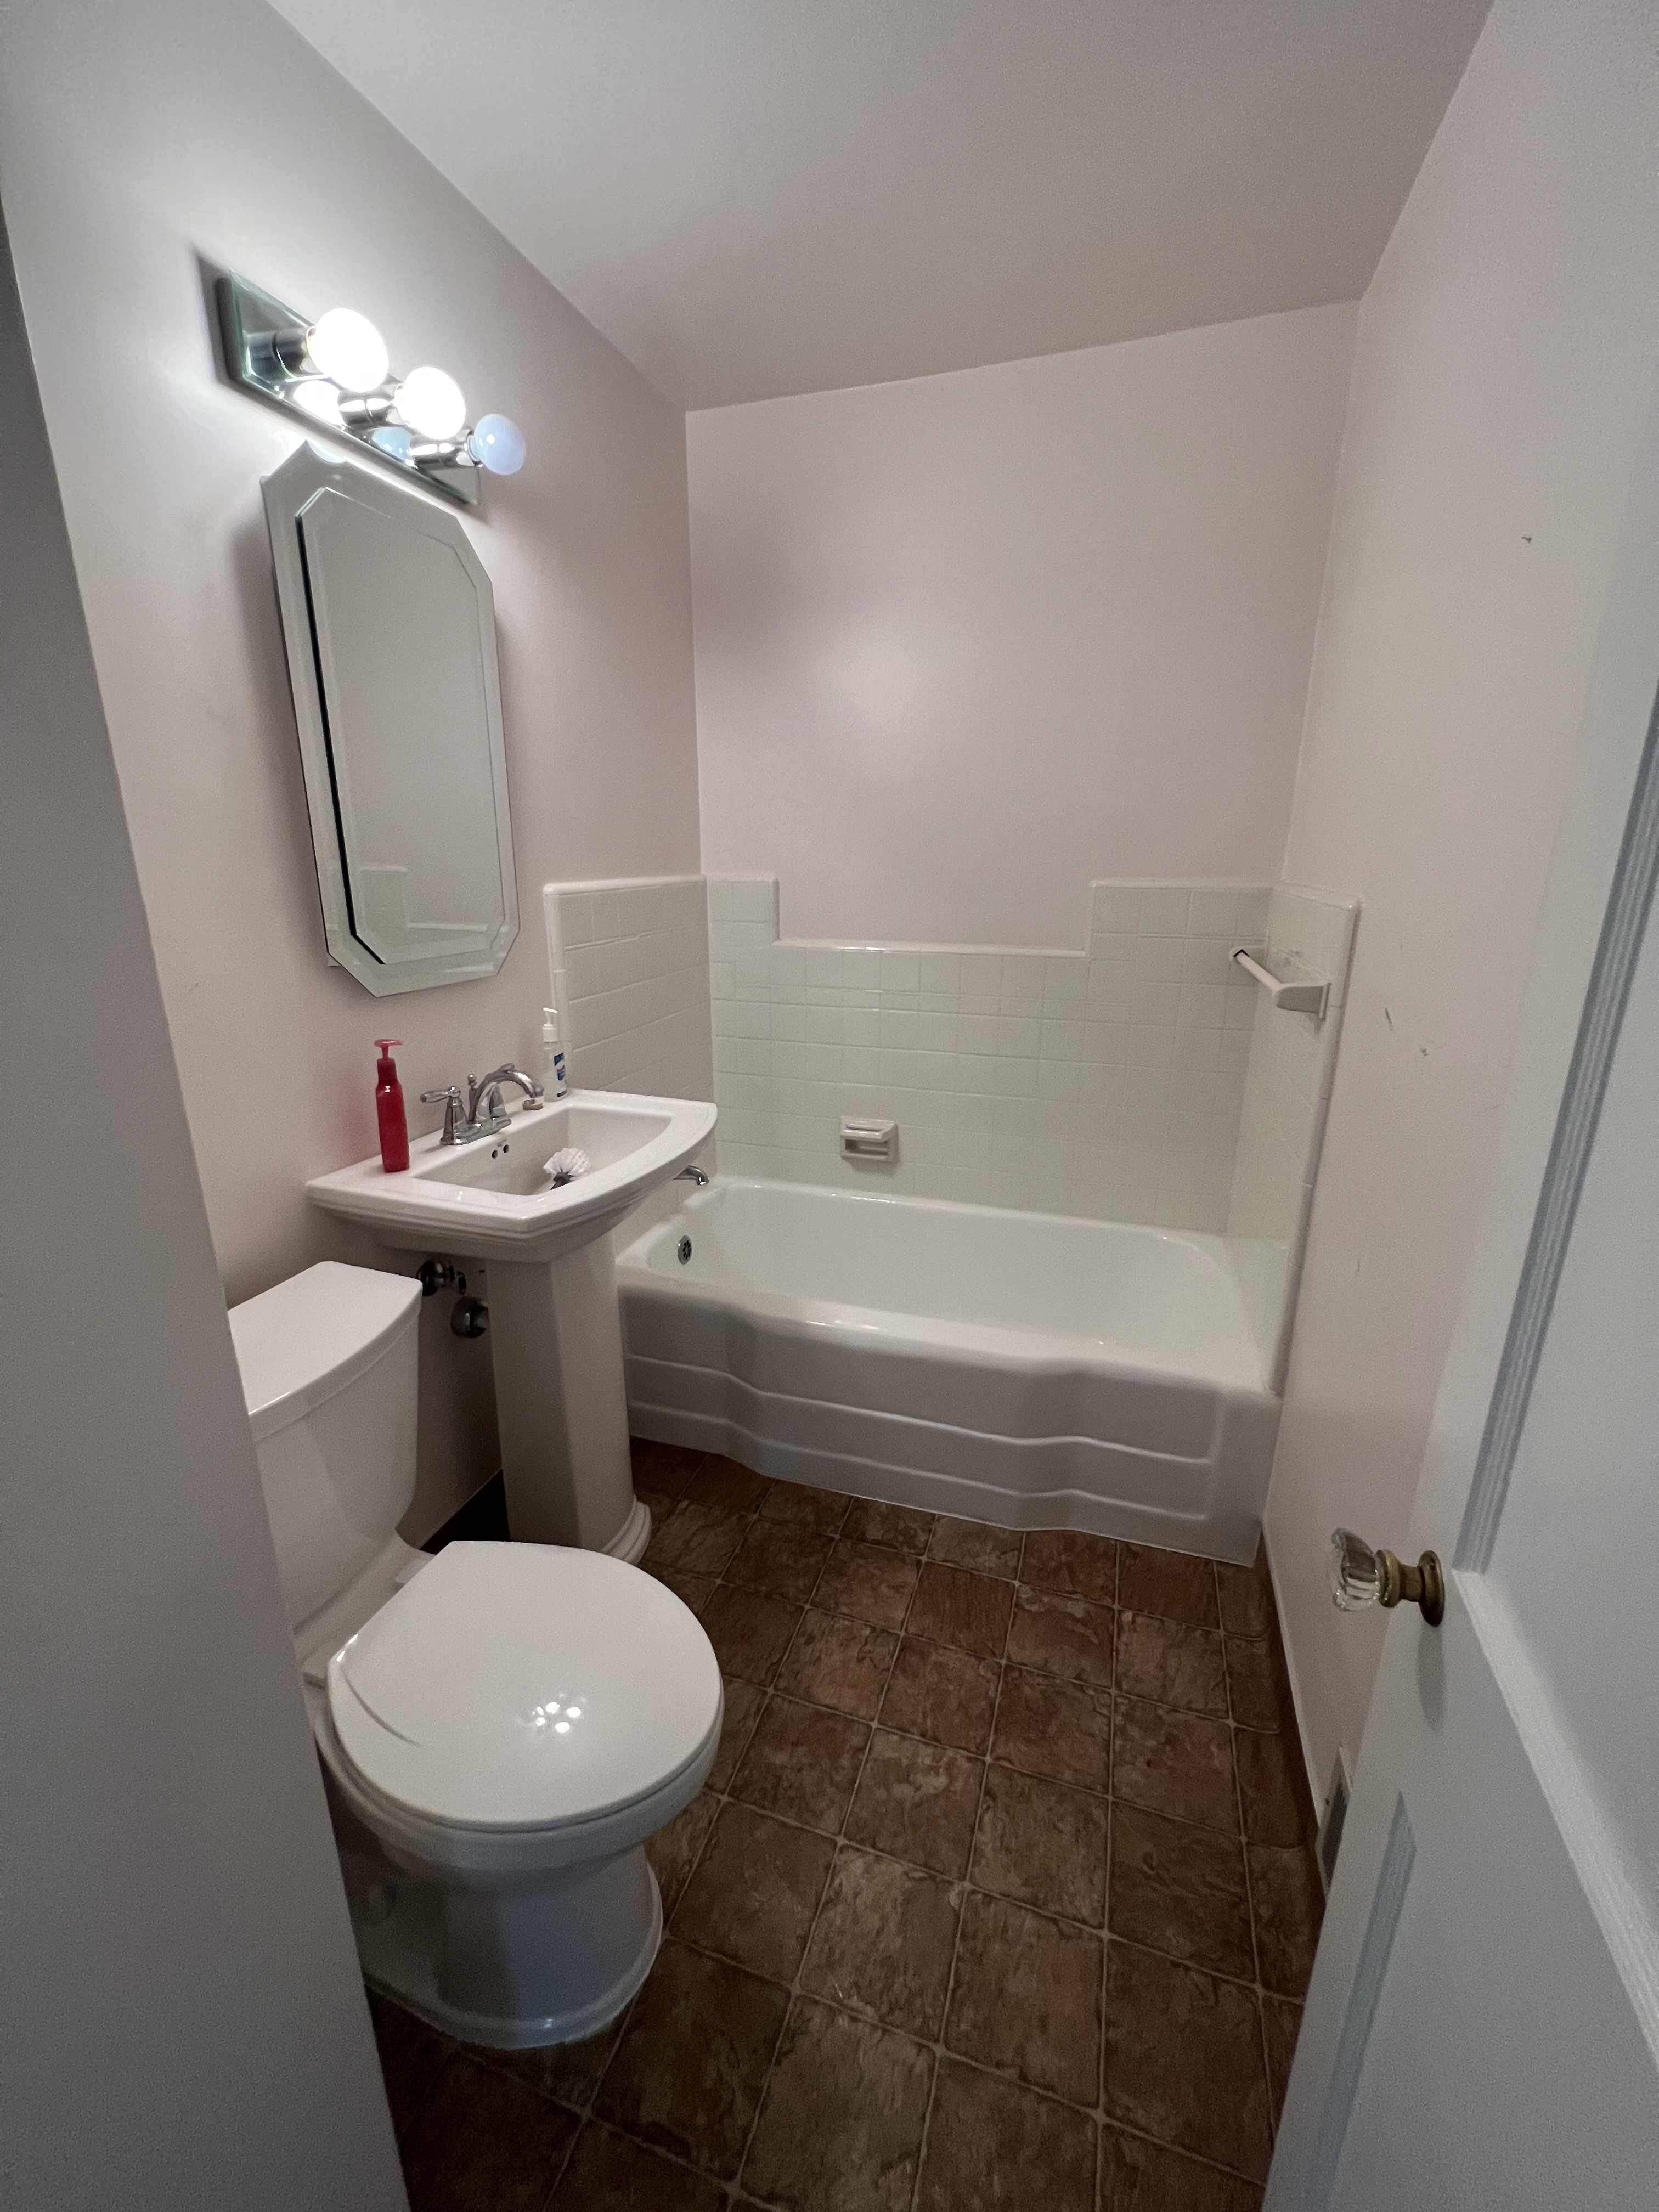
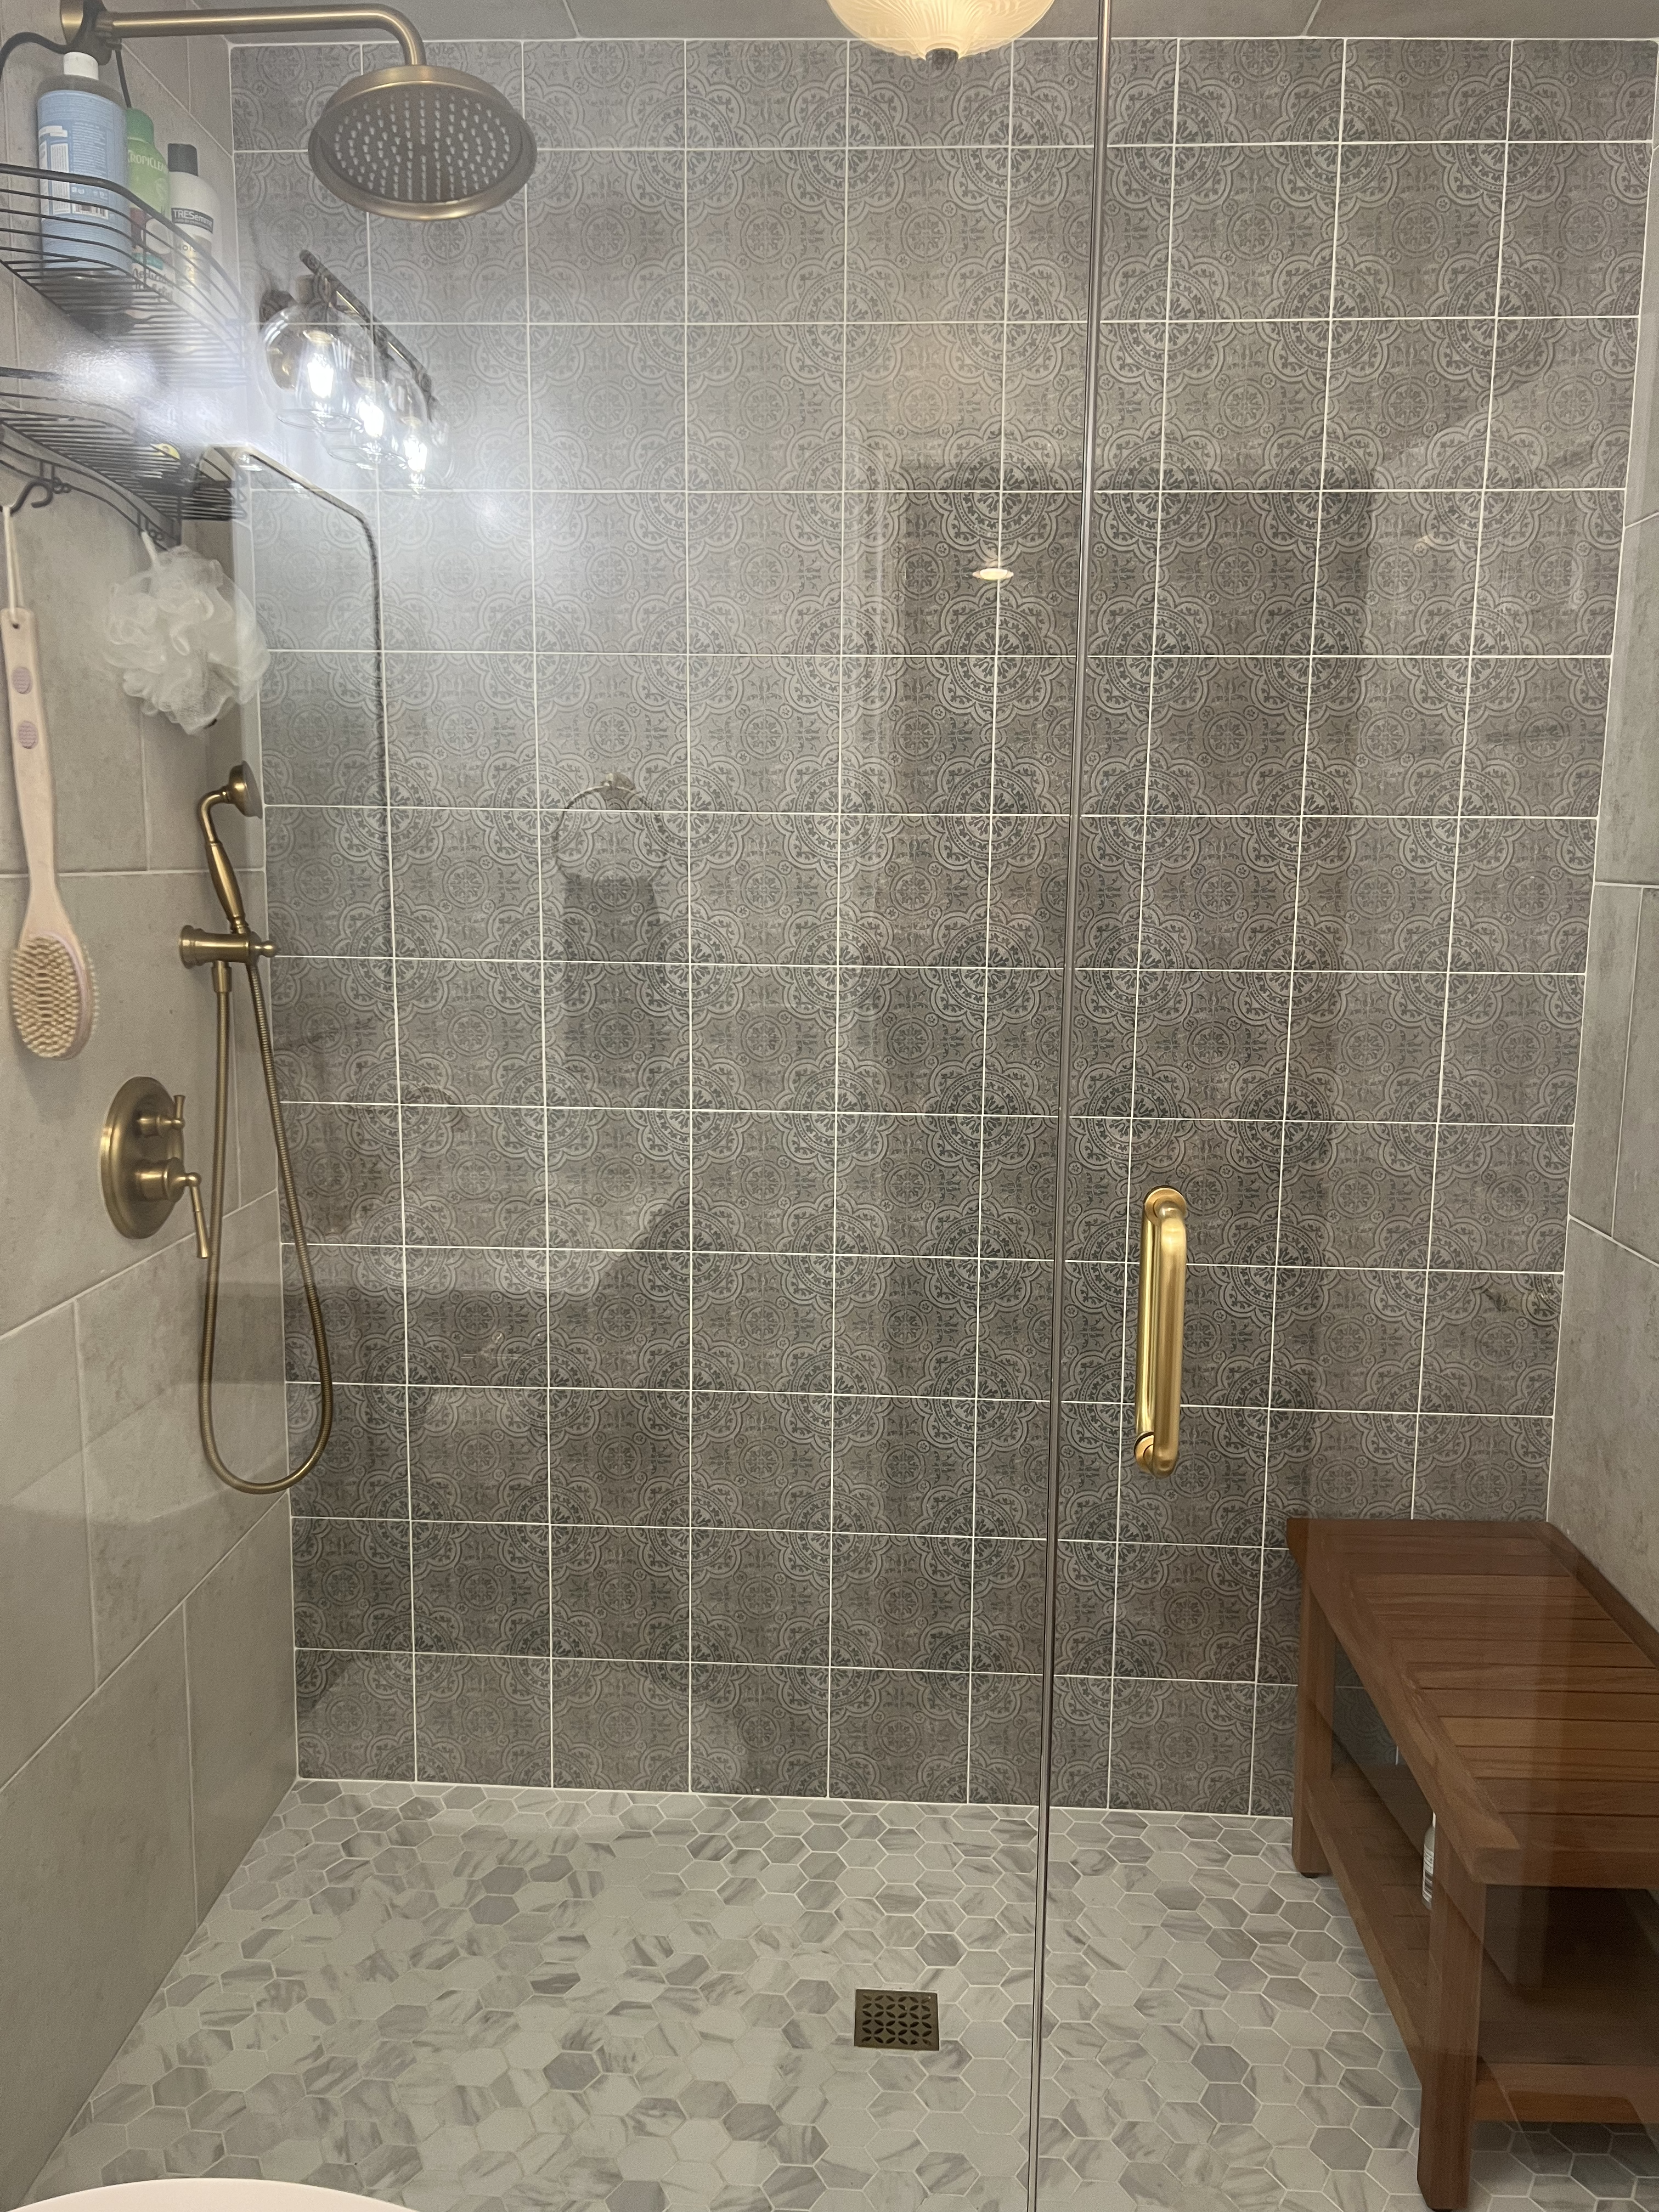
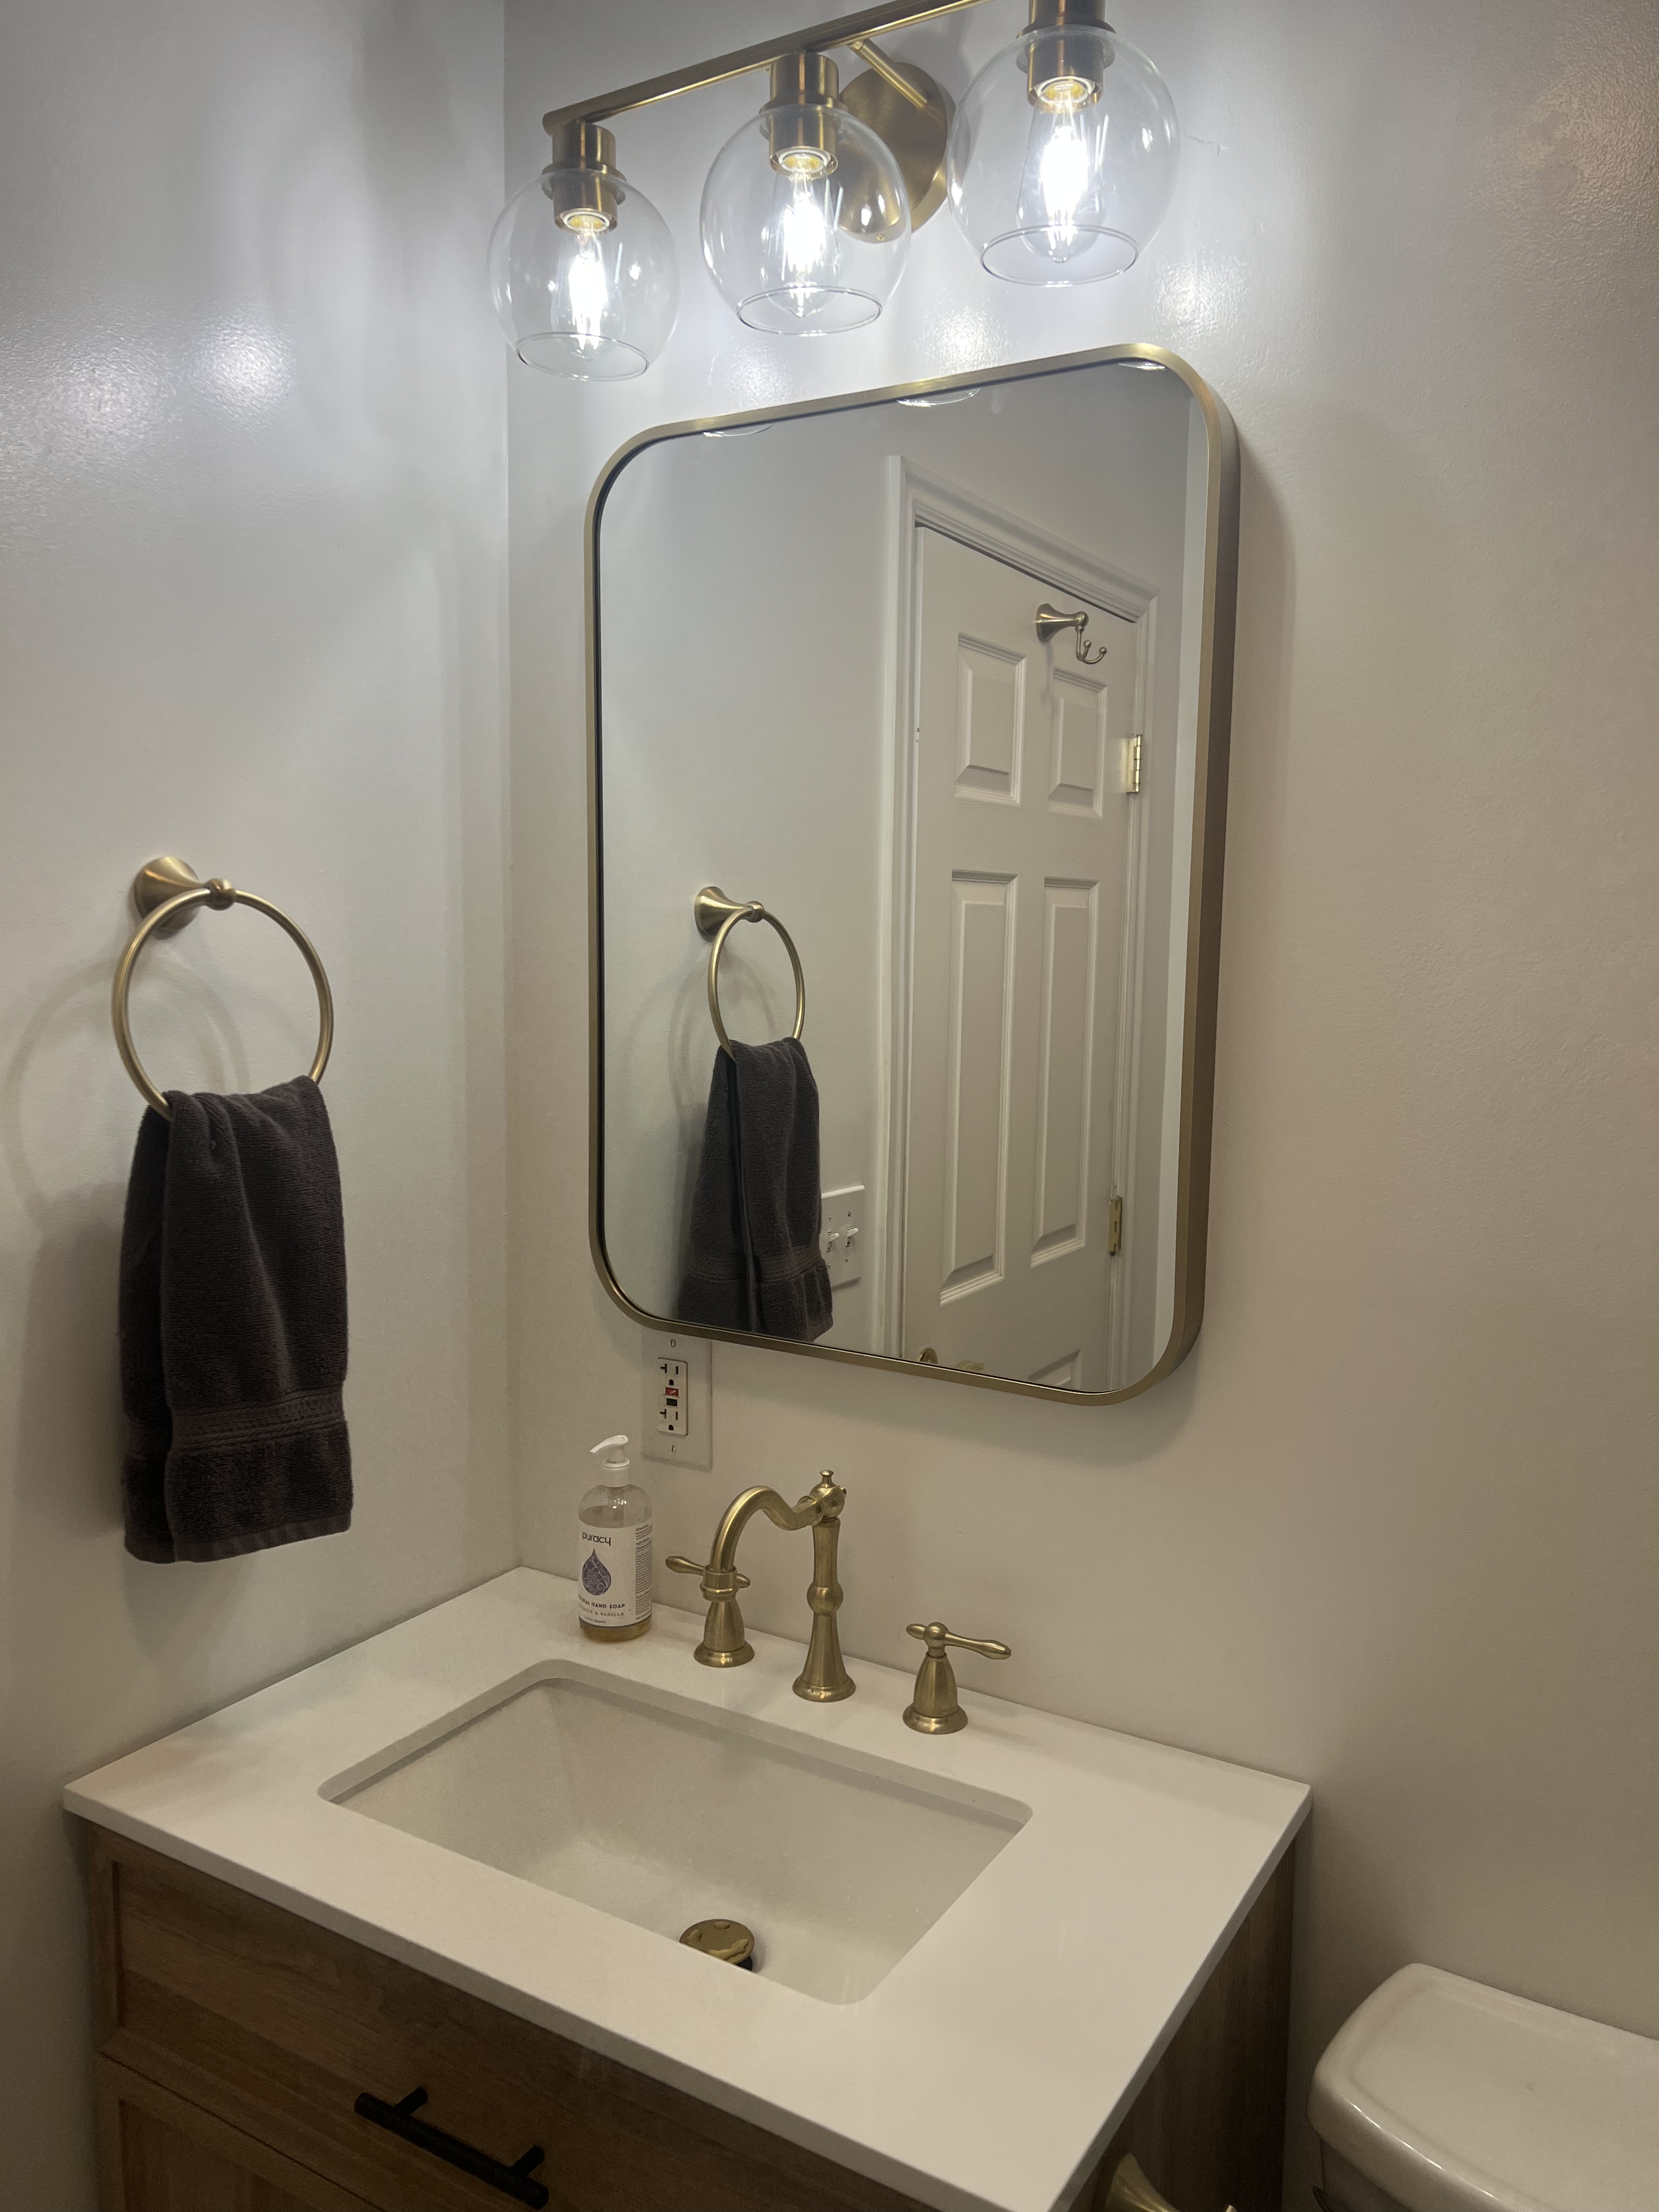
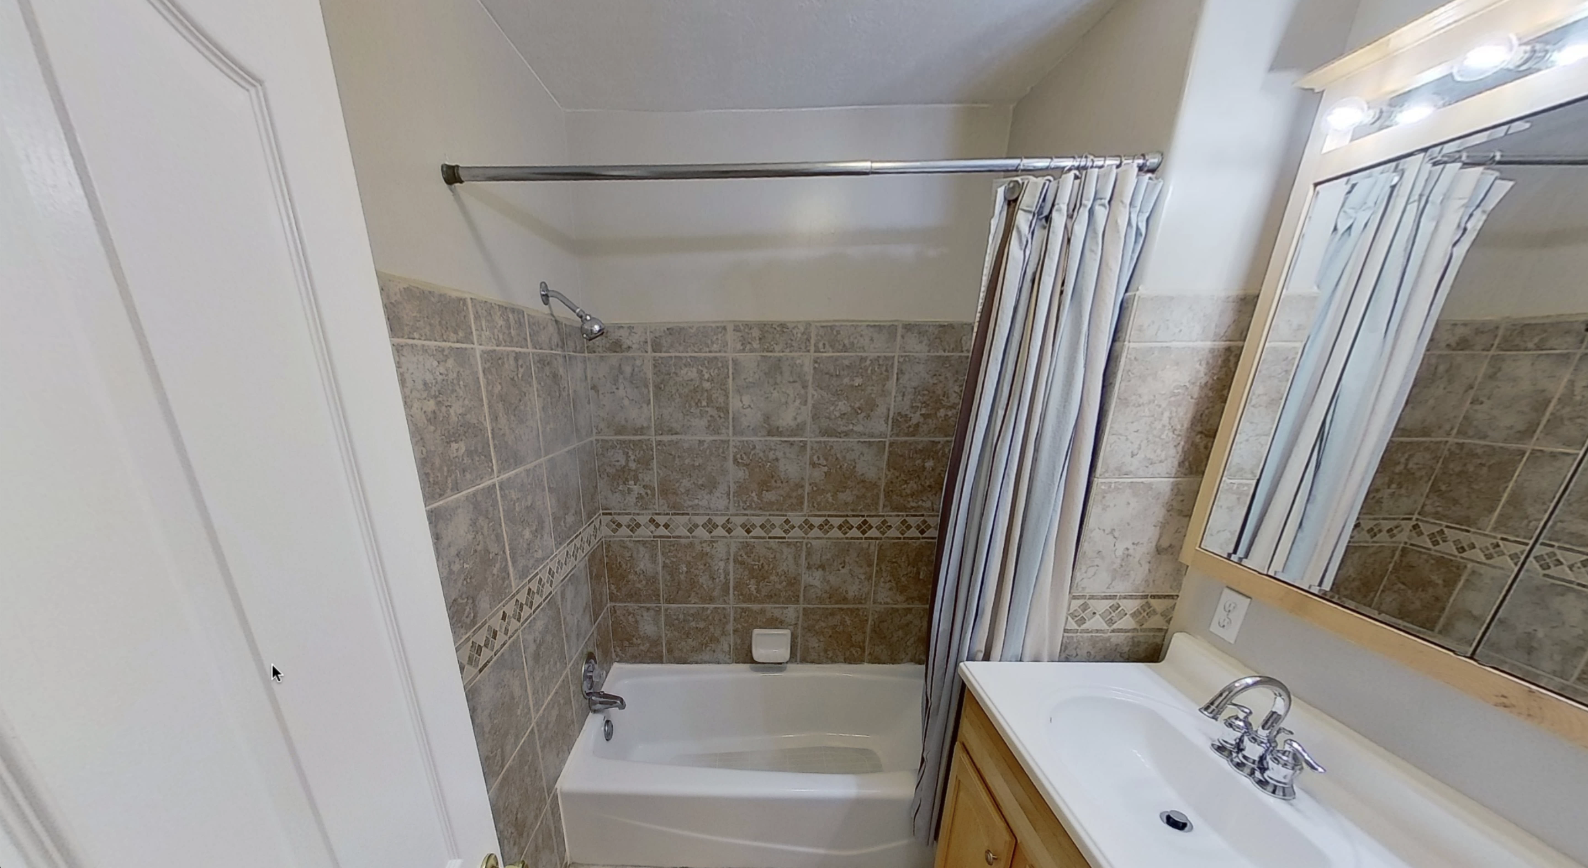
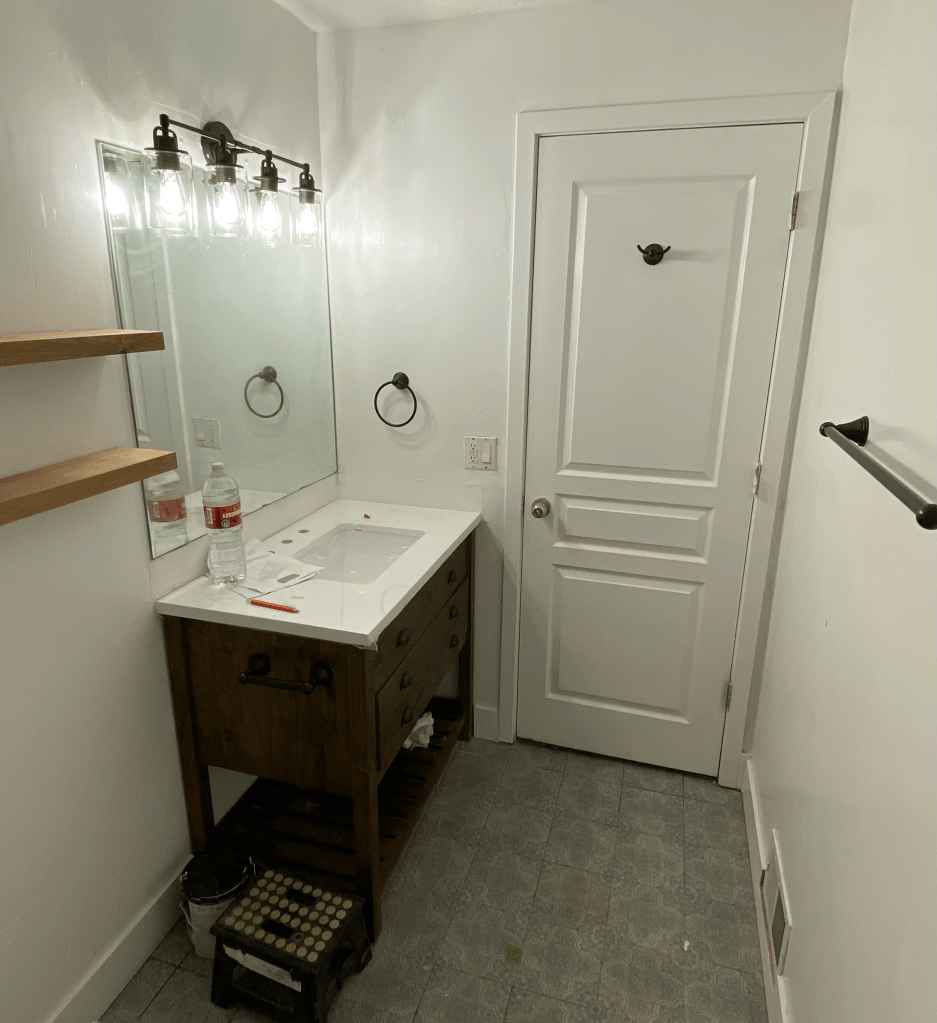
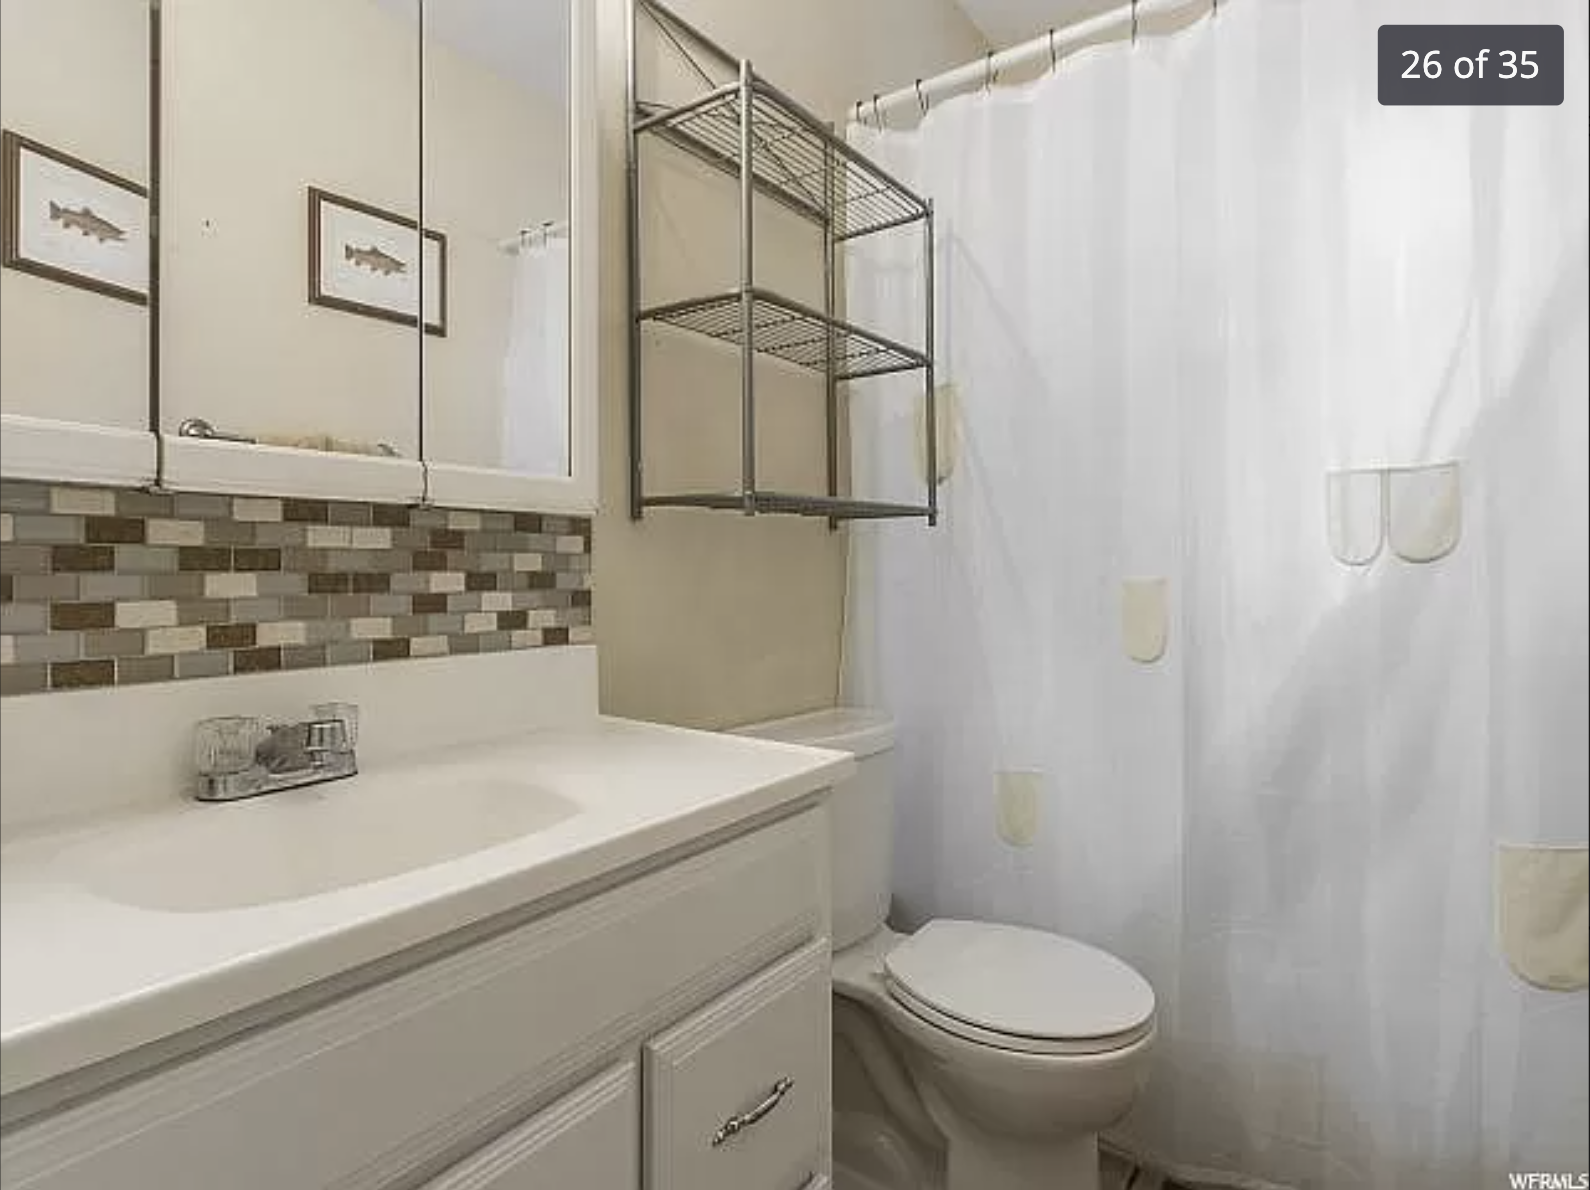
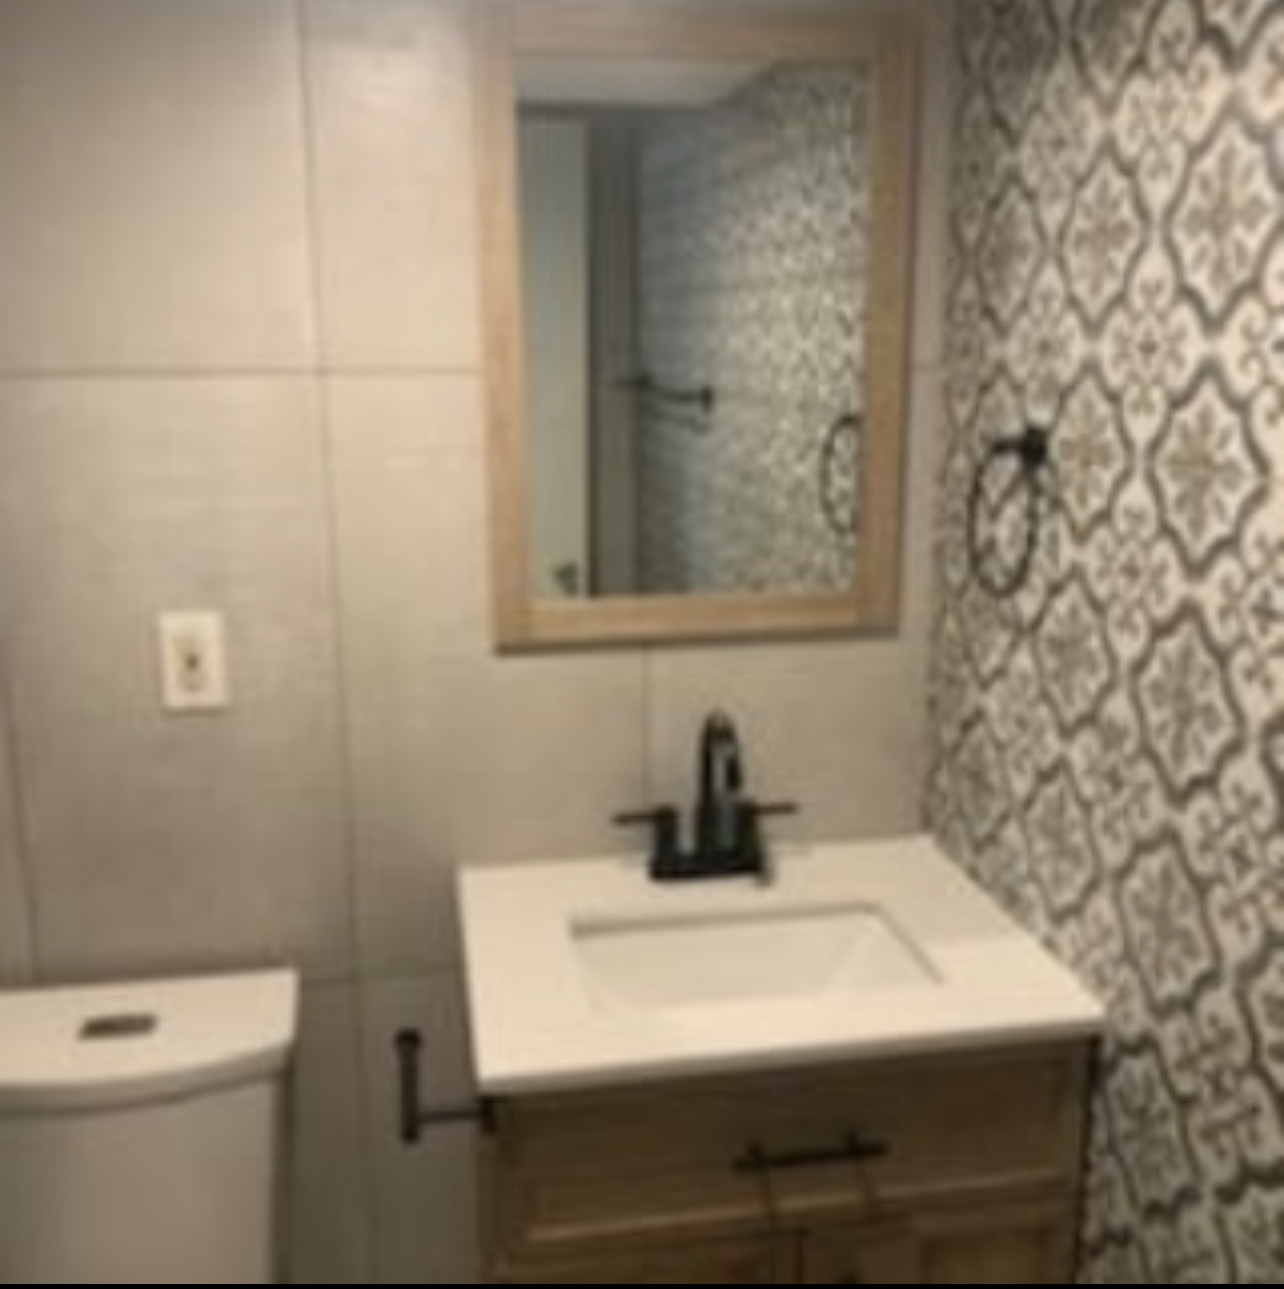
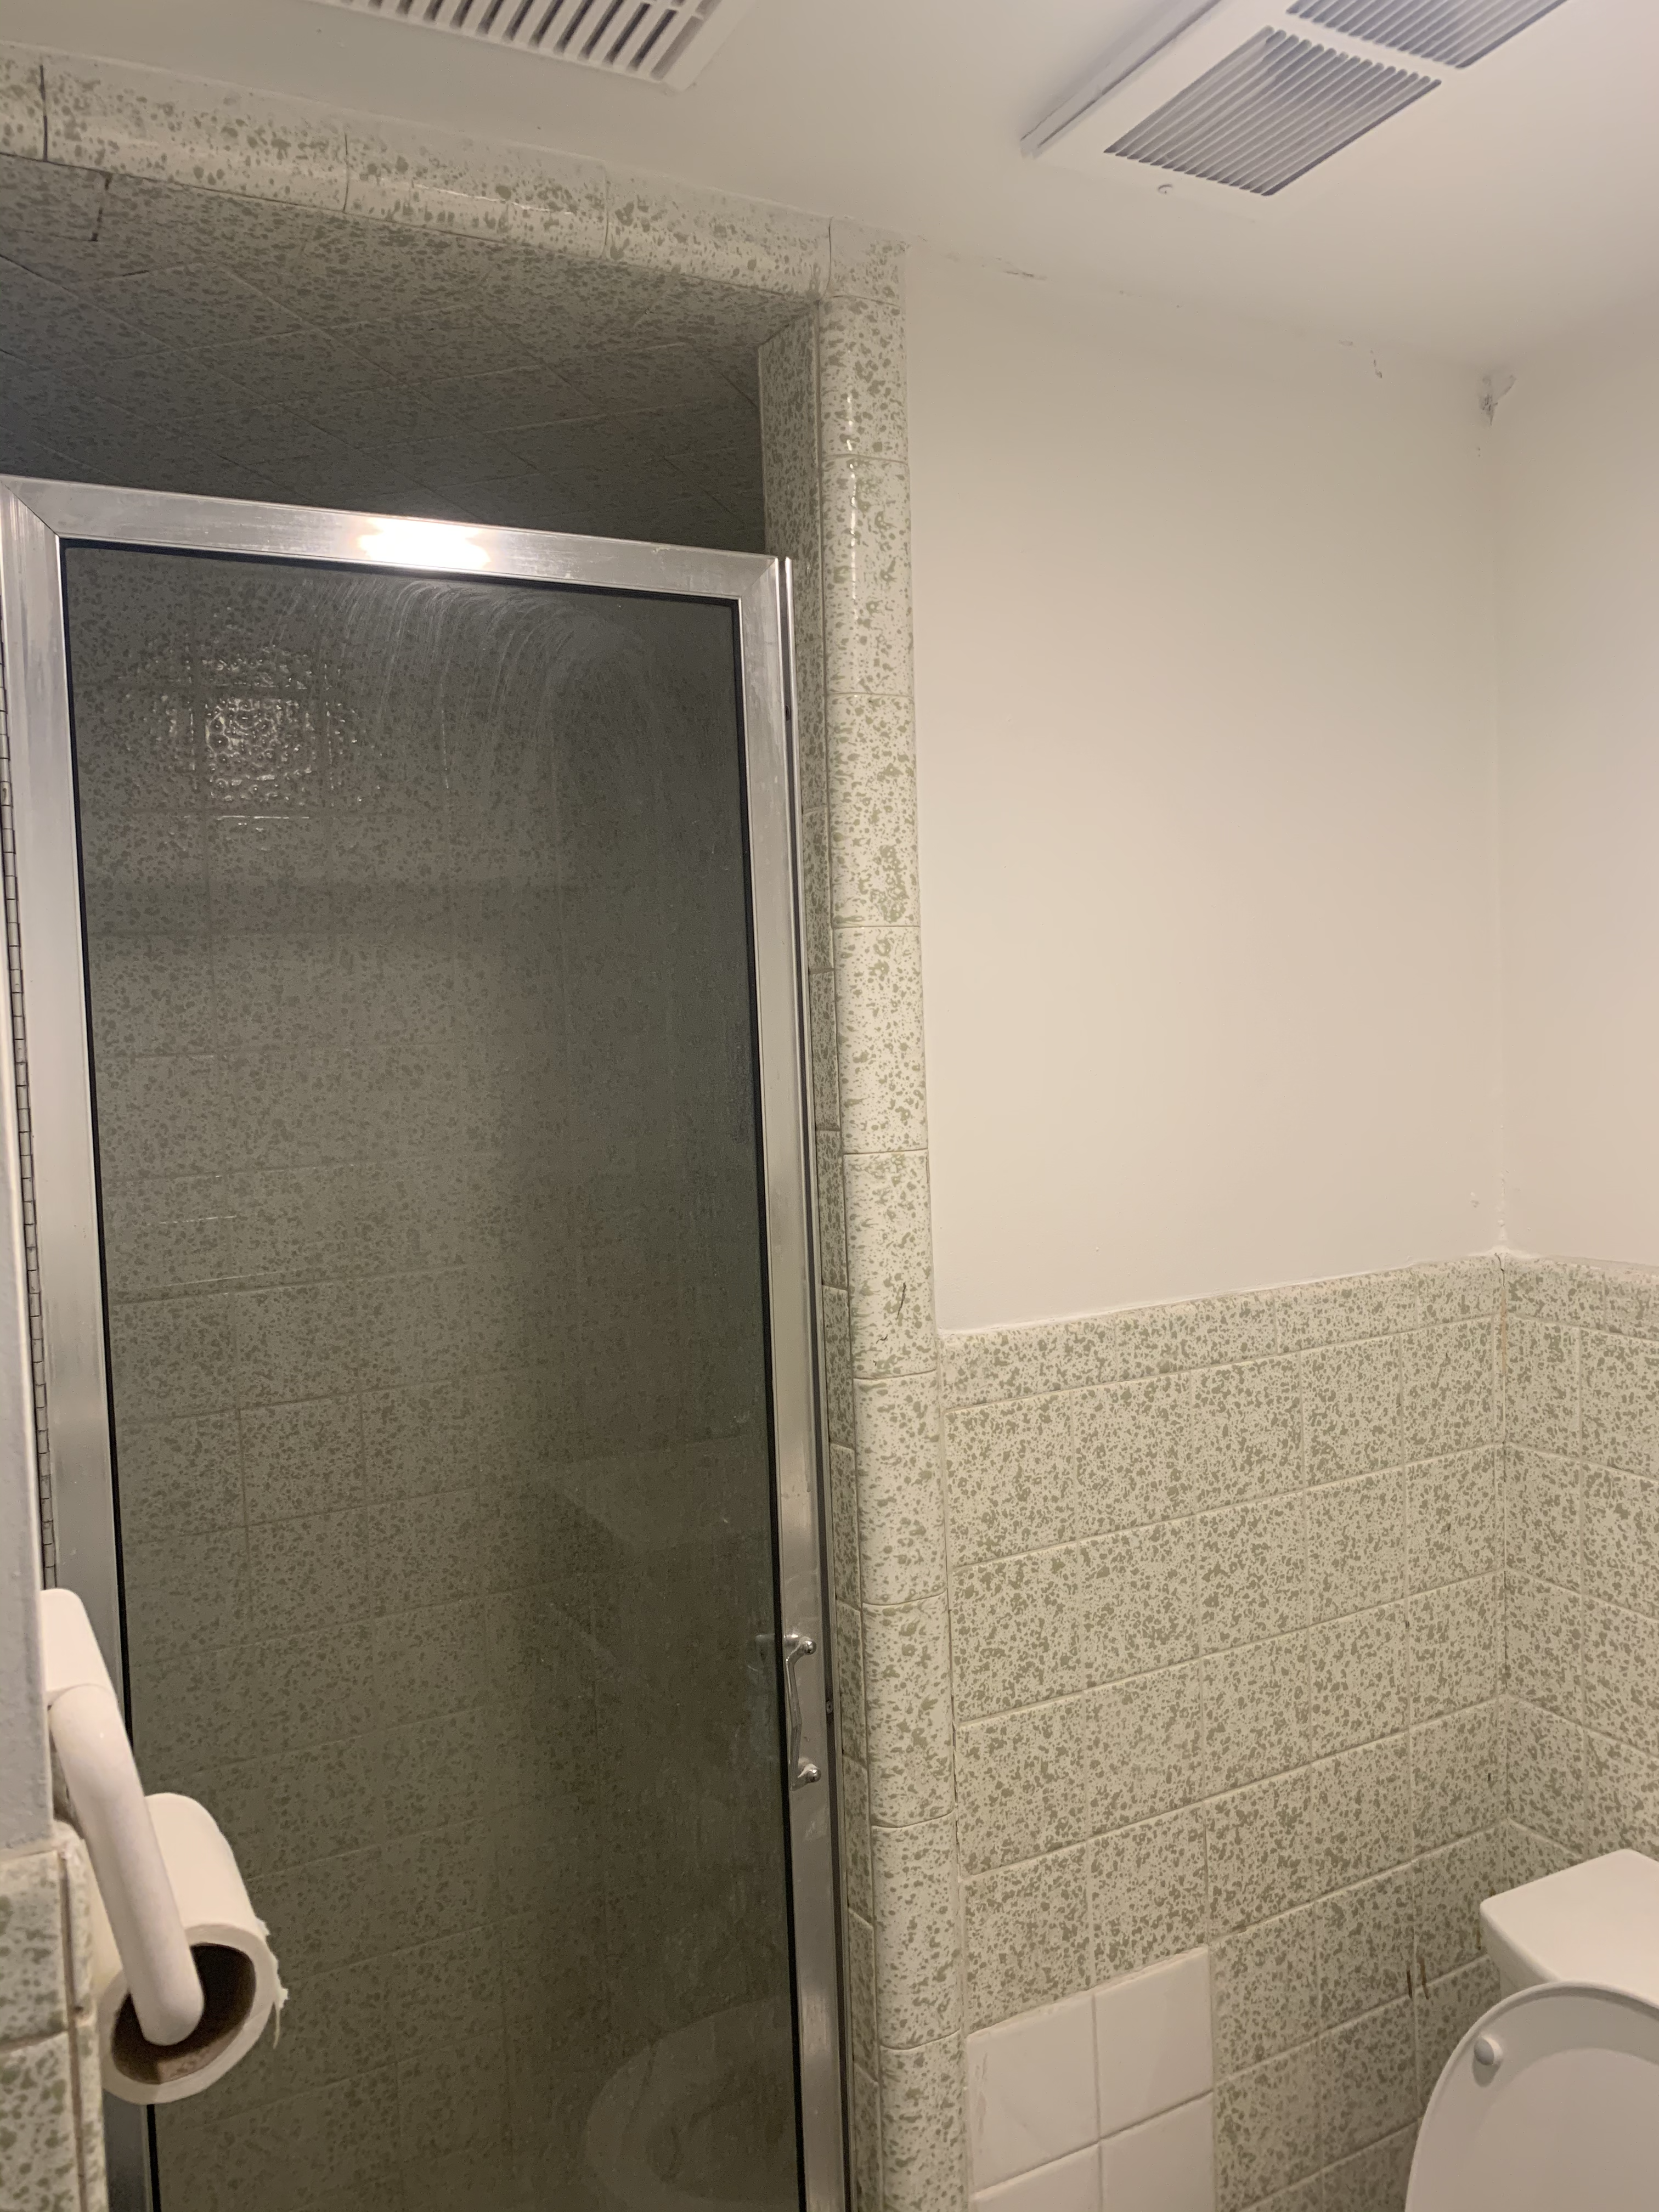
Bathrooms


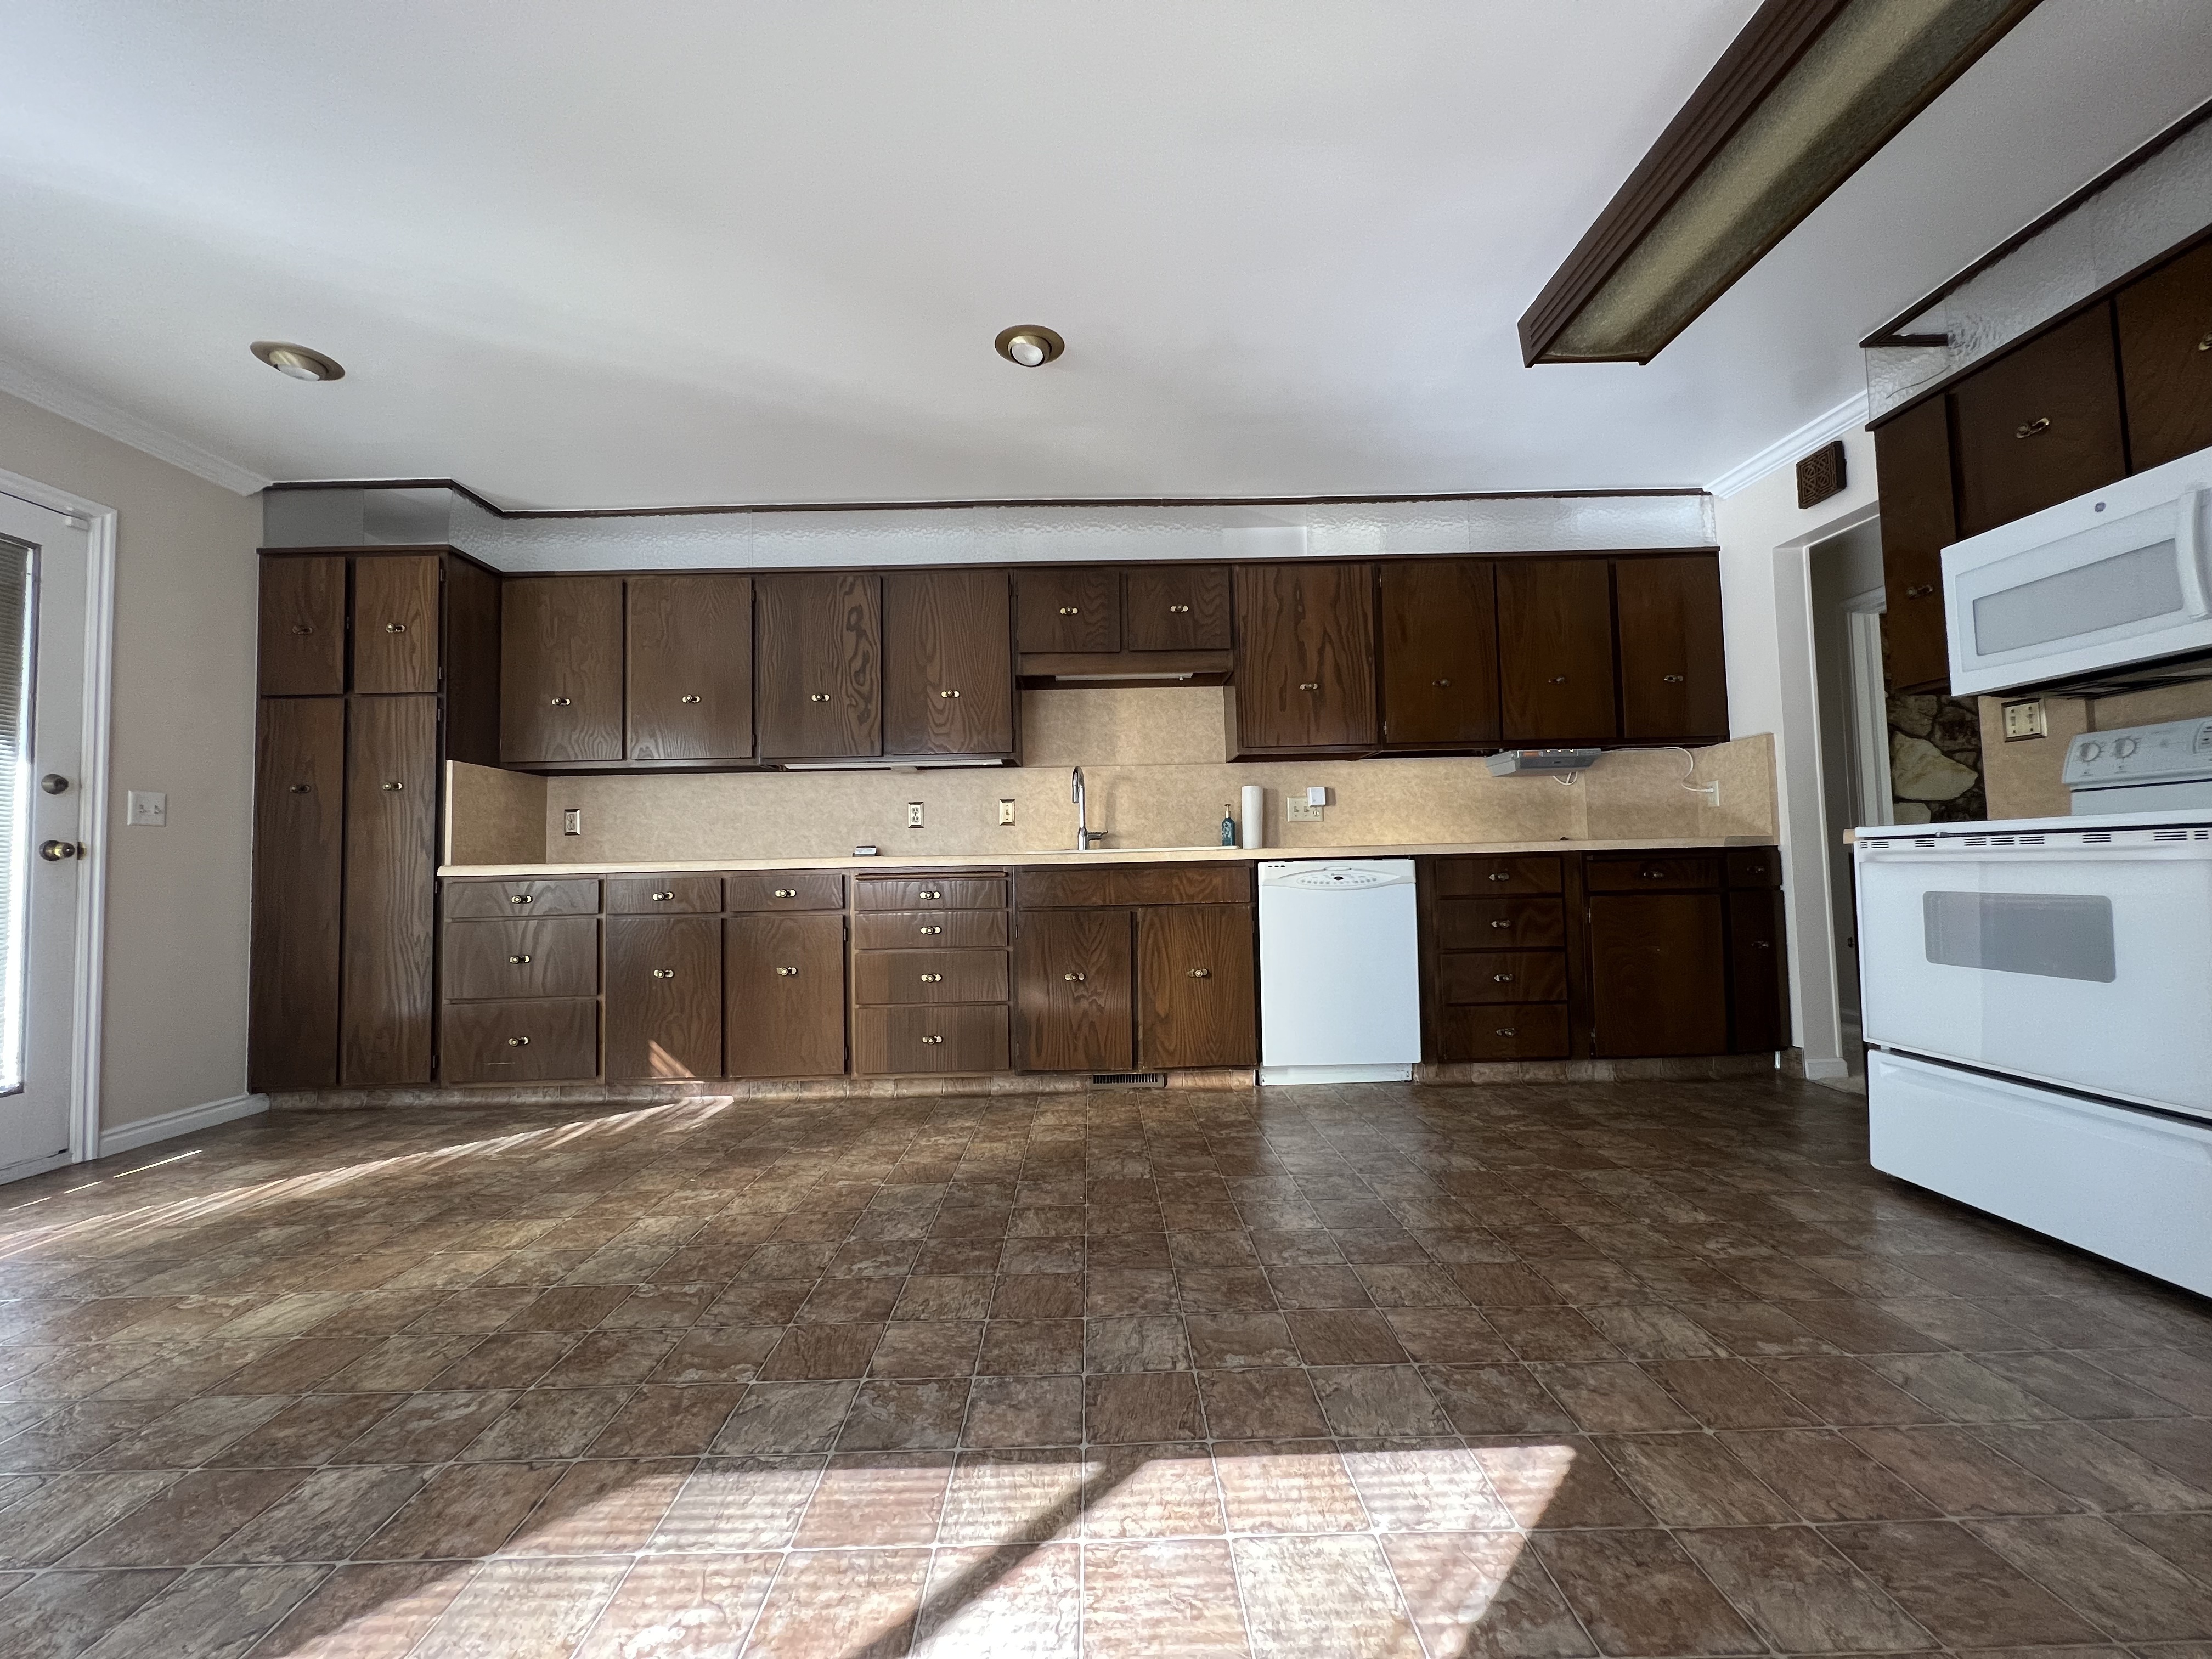
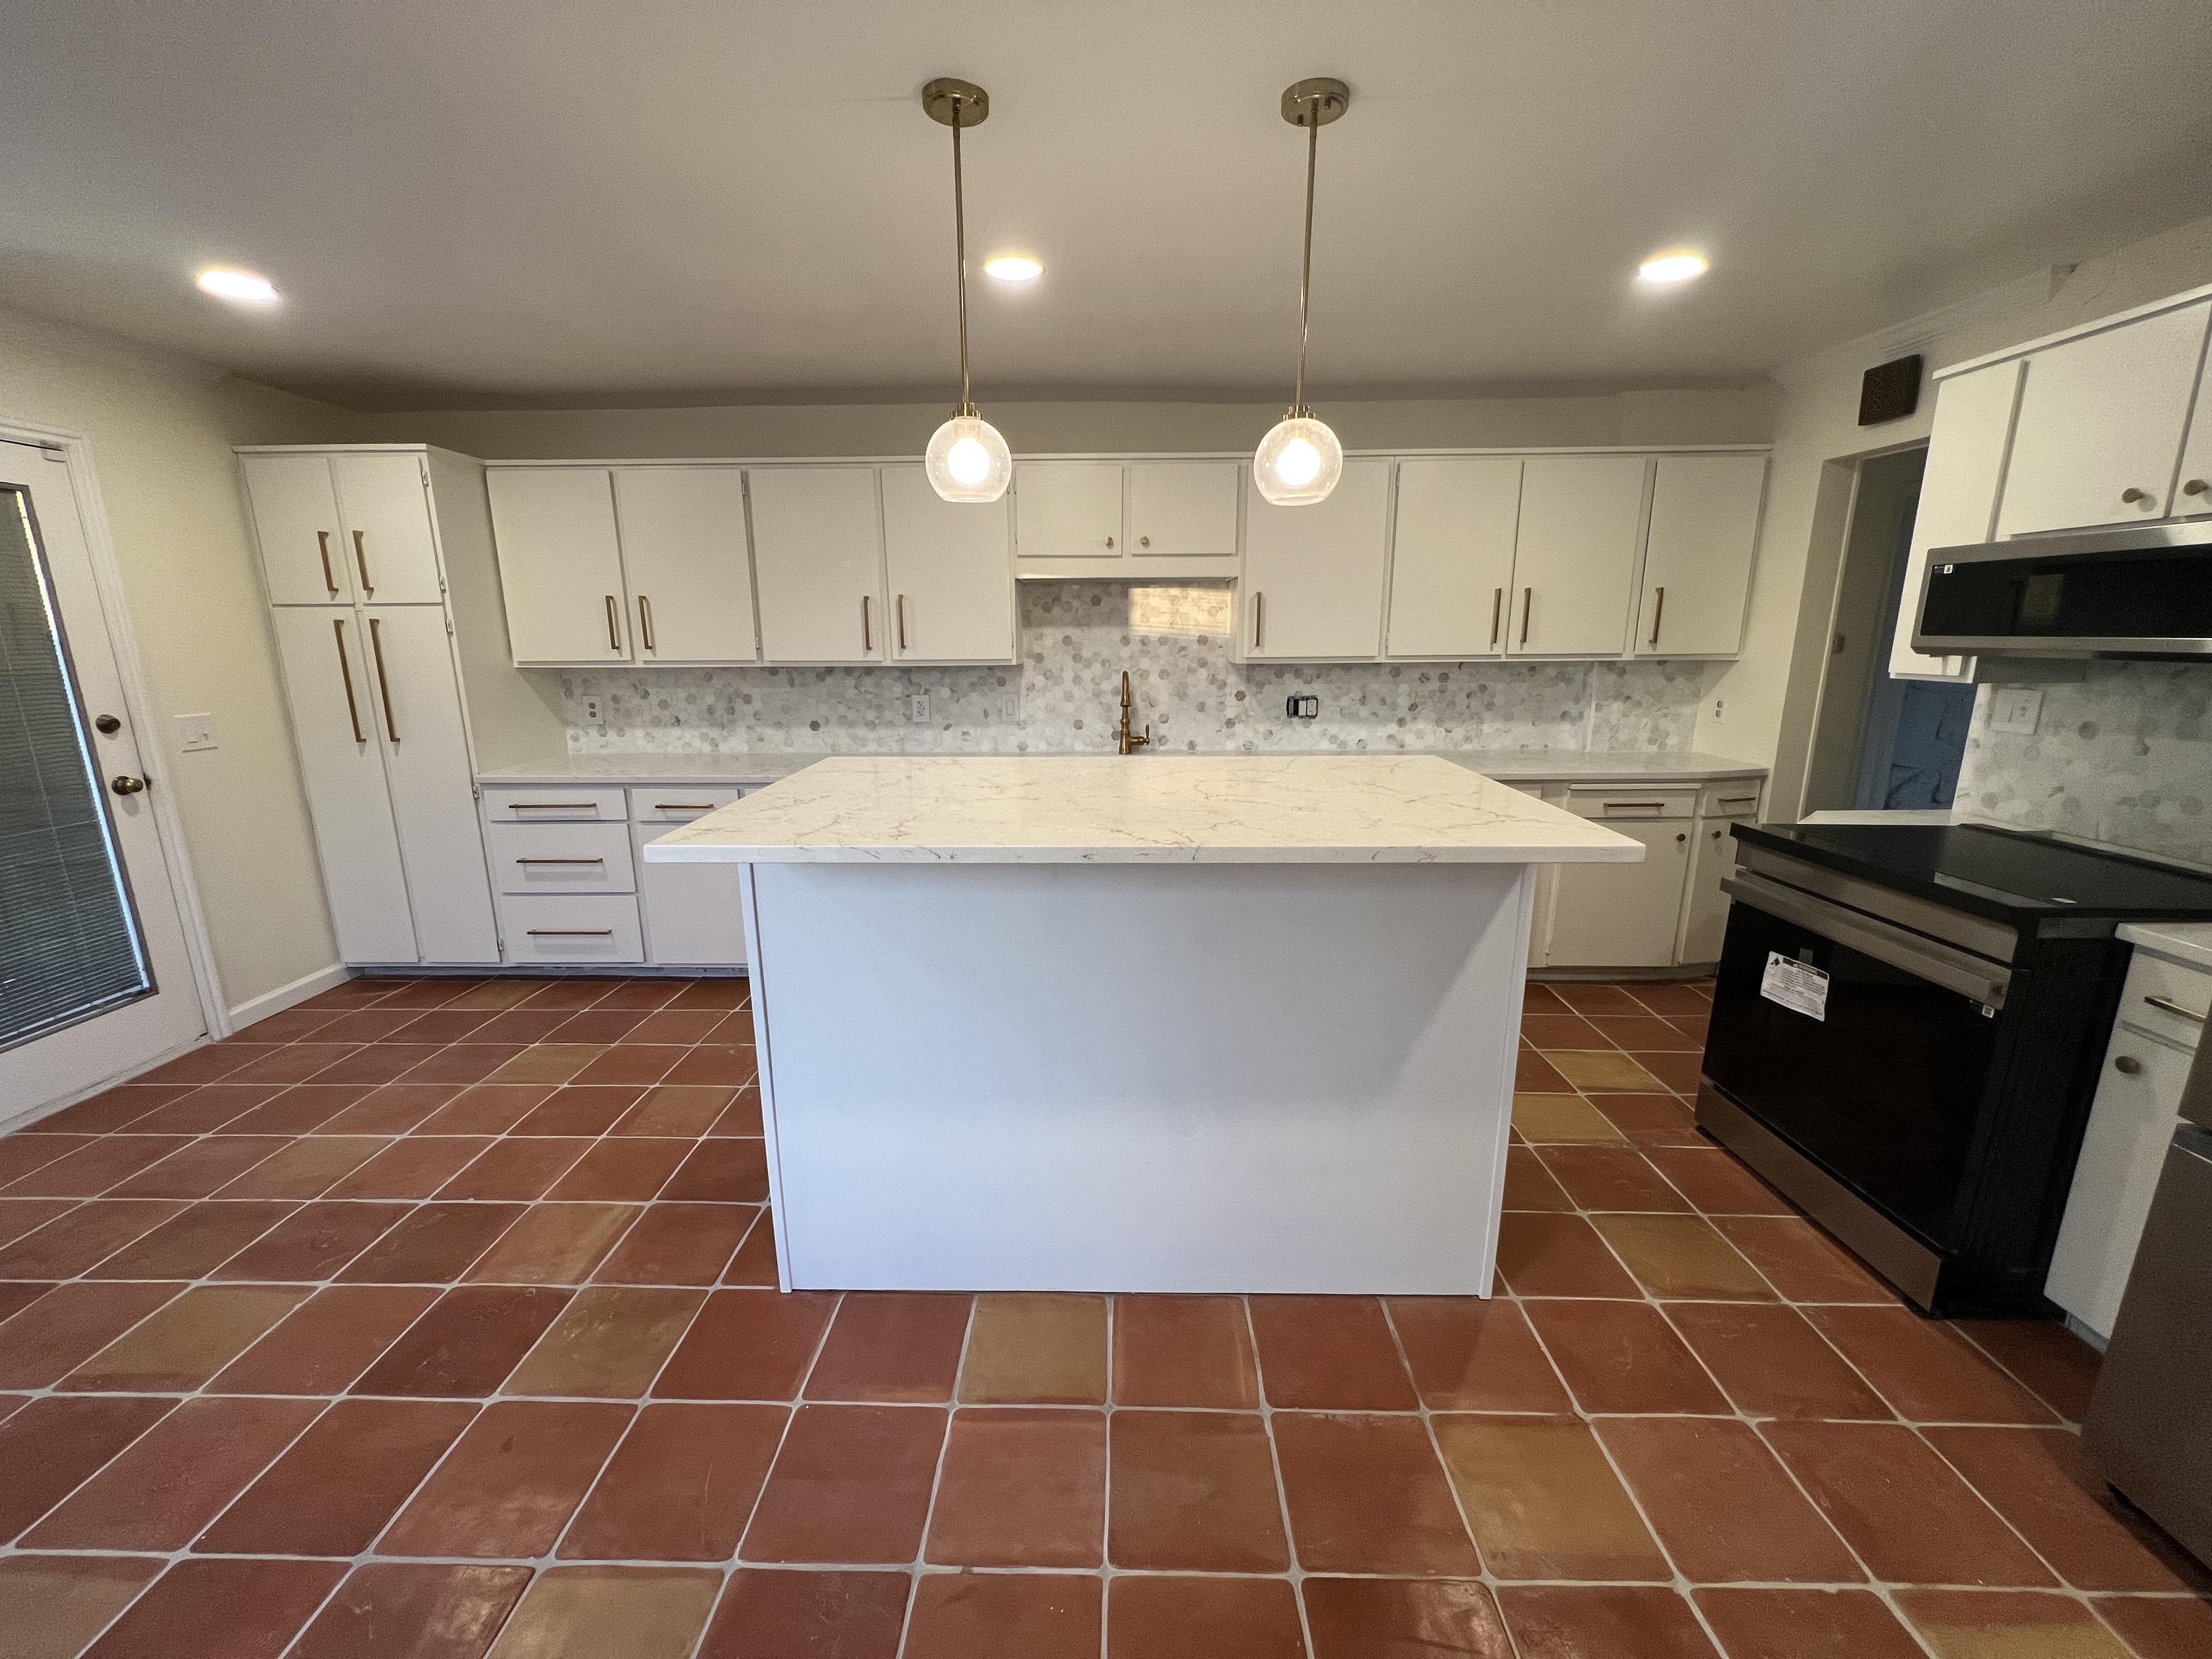
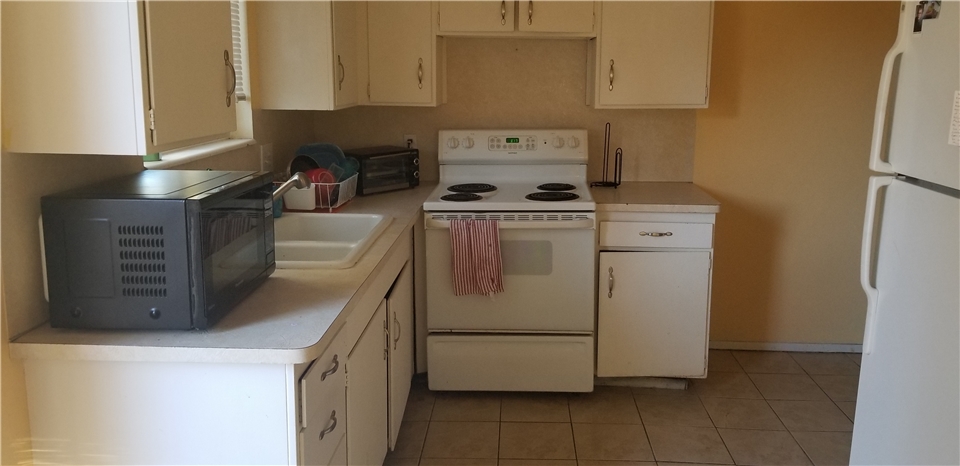
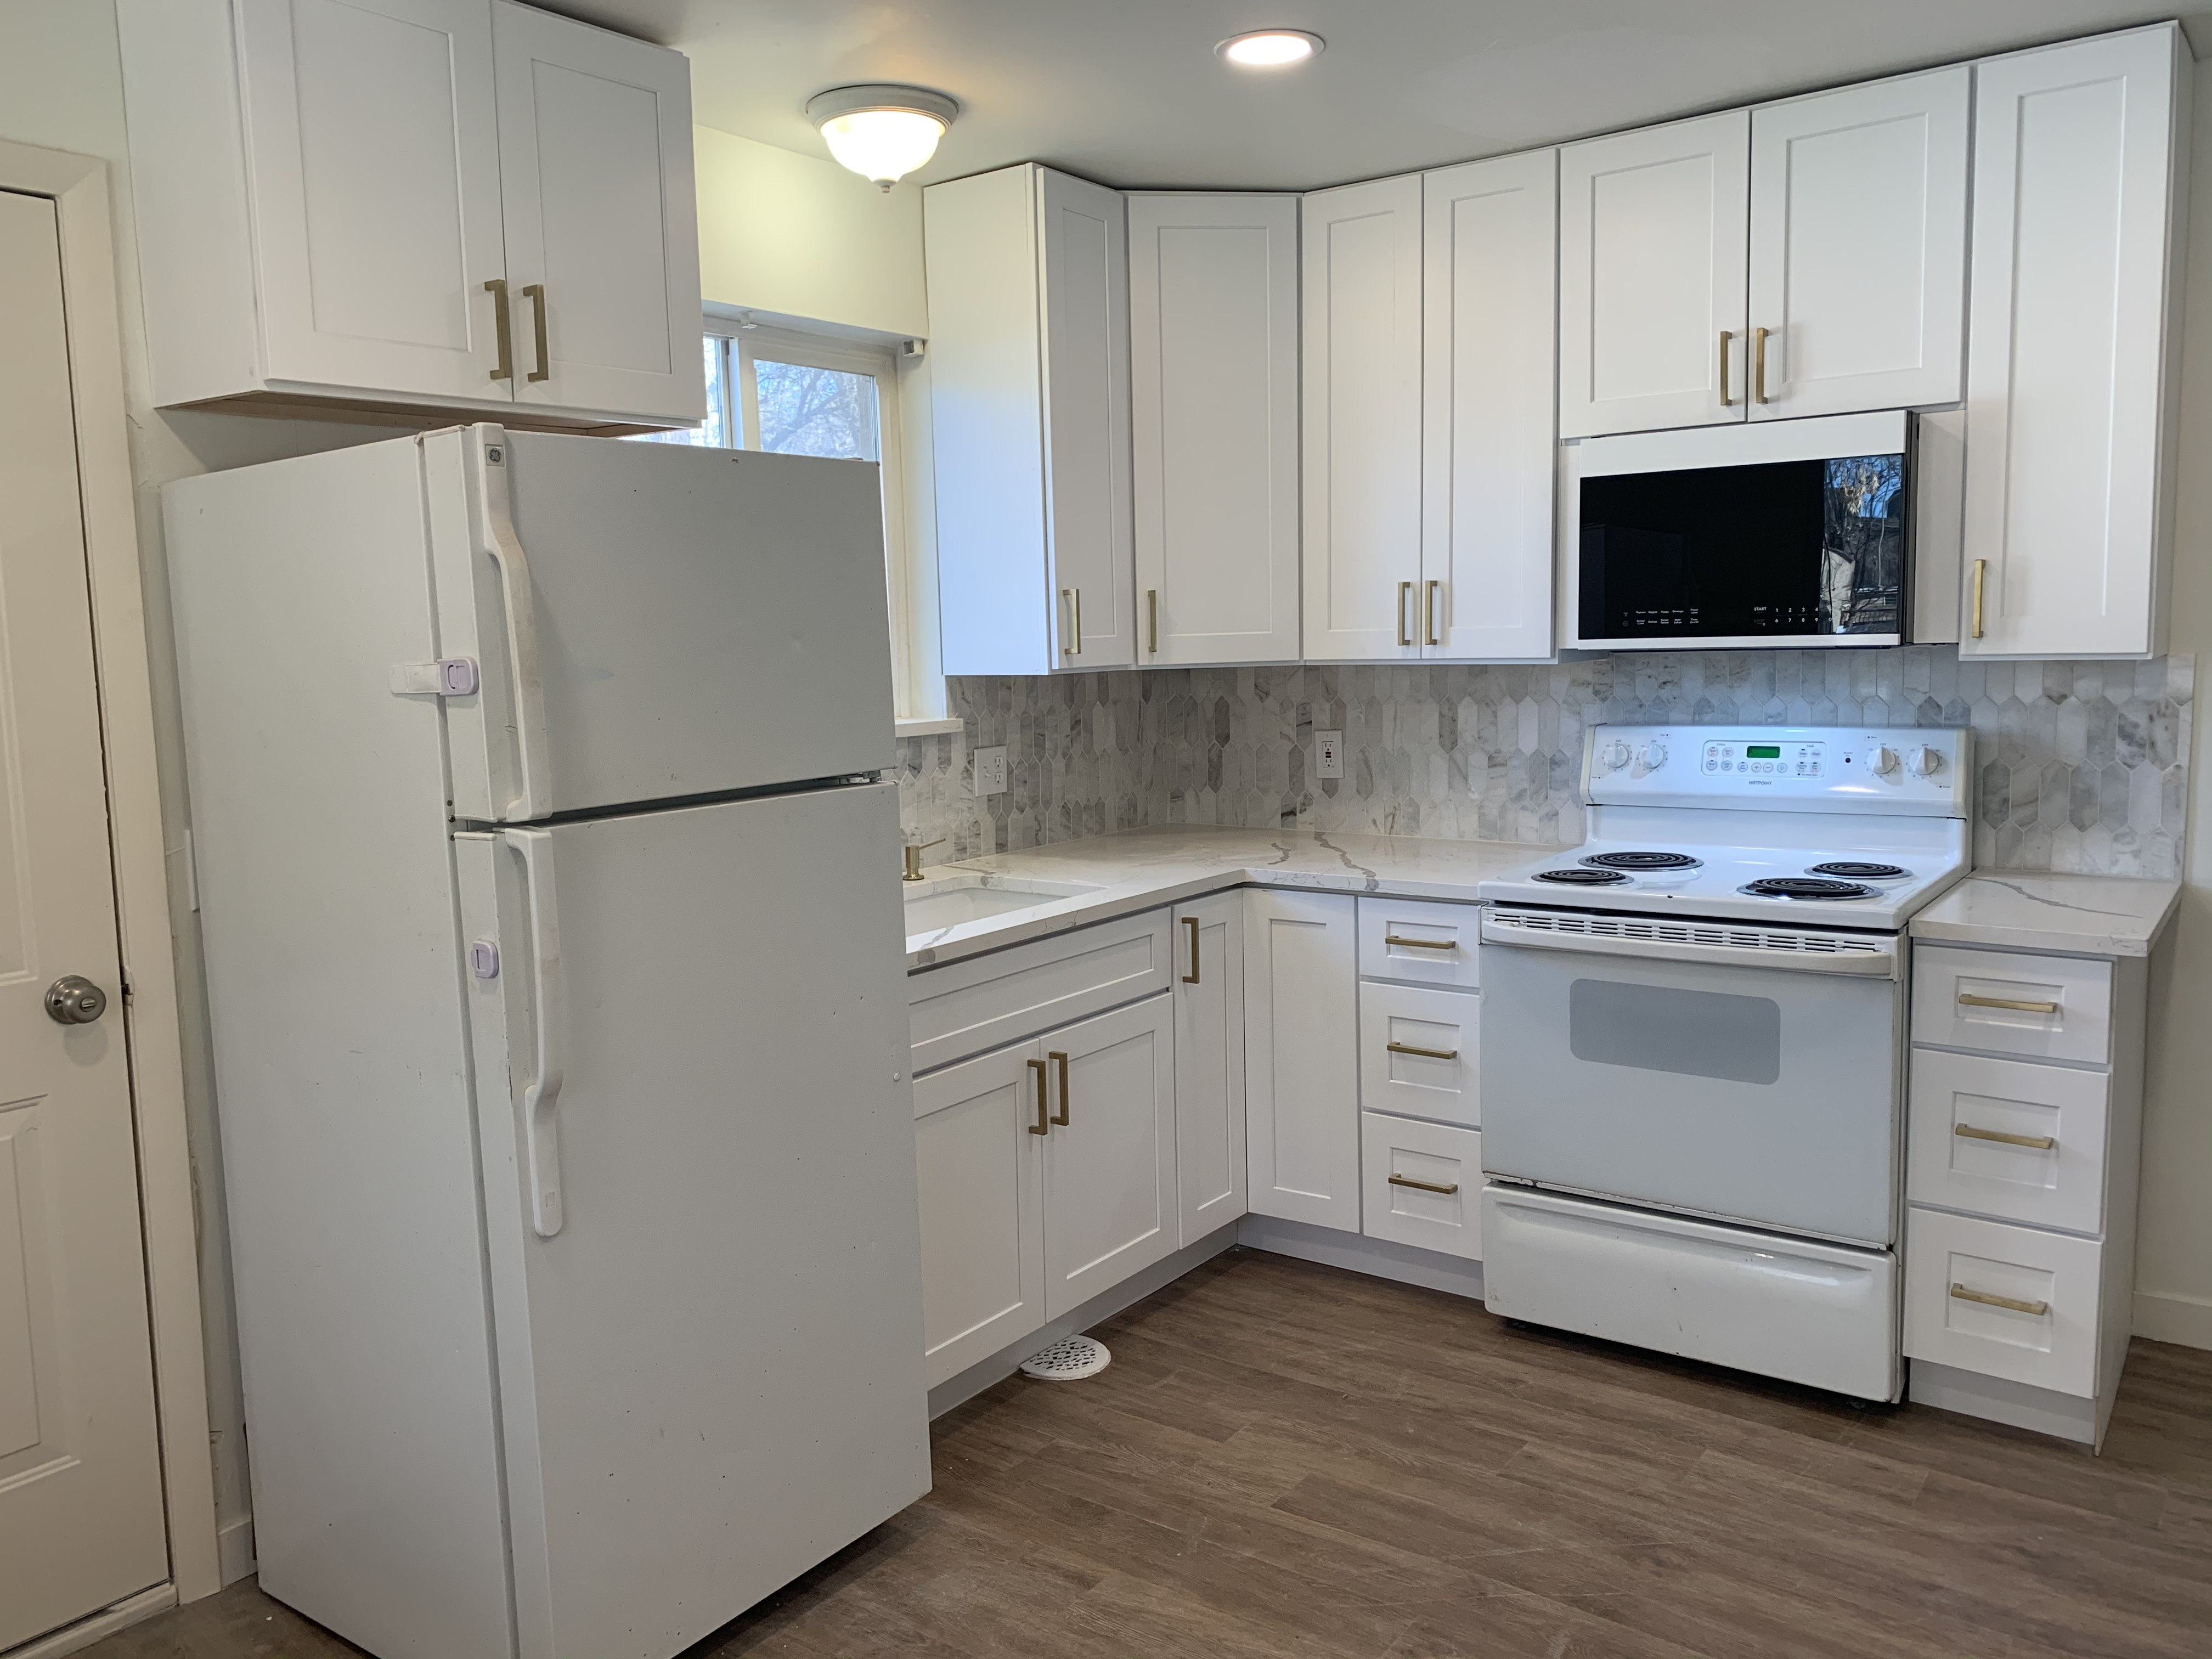
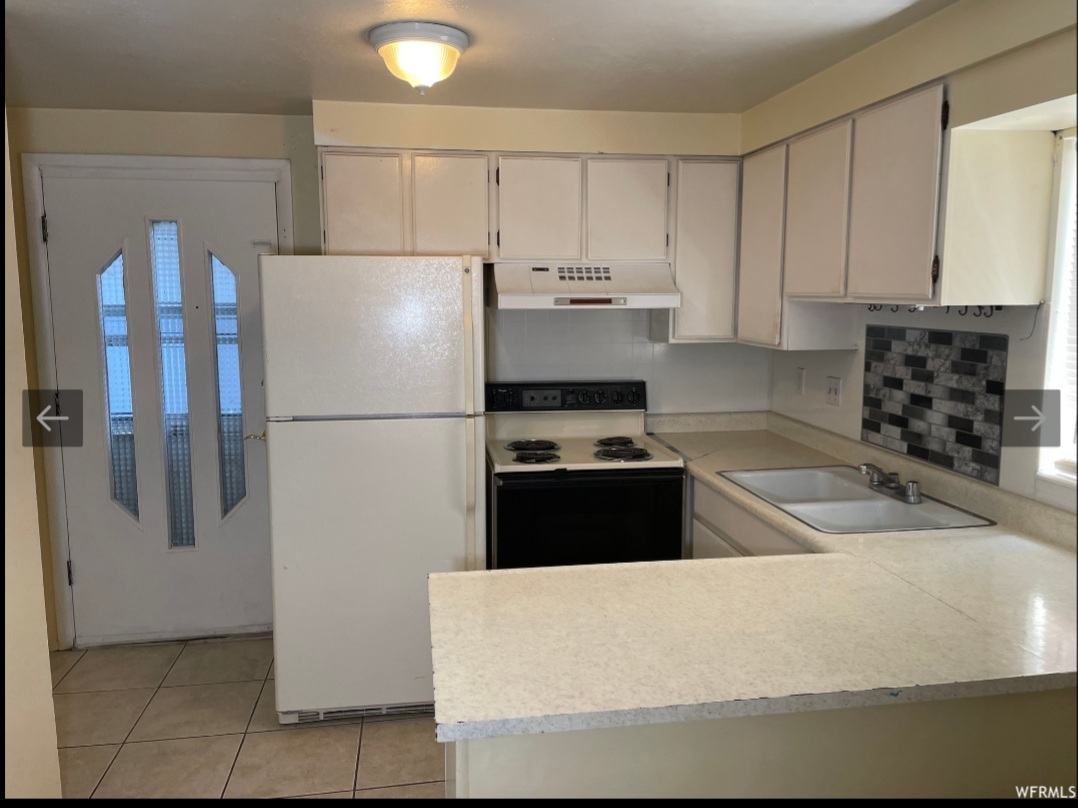
Kitchens


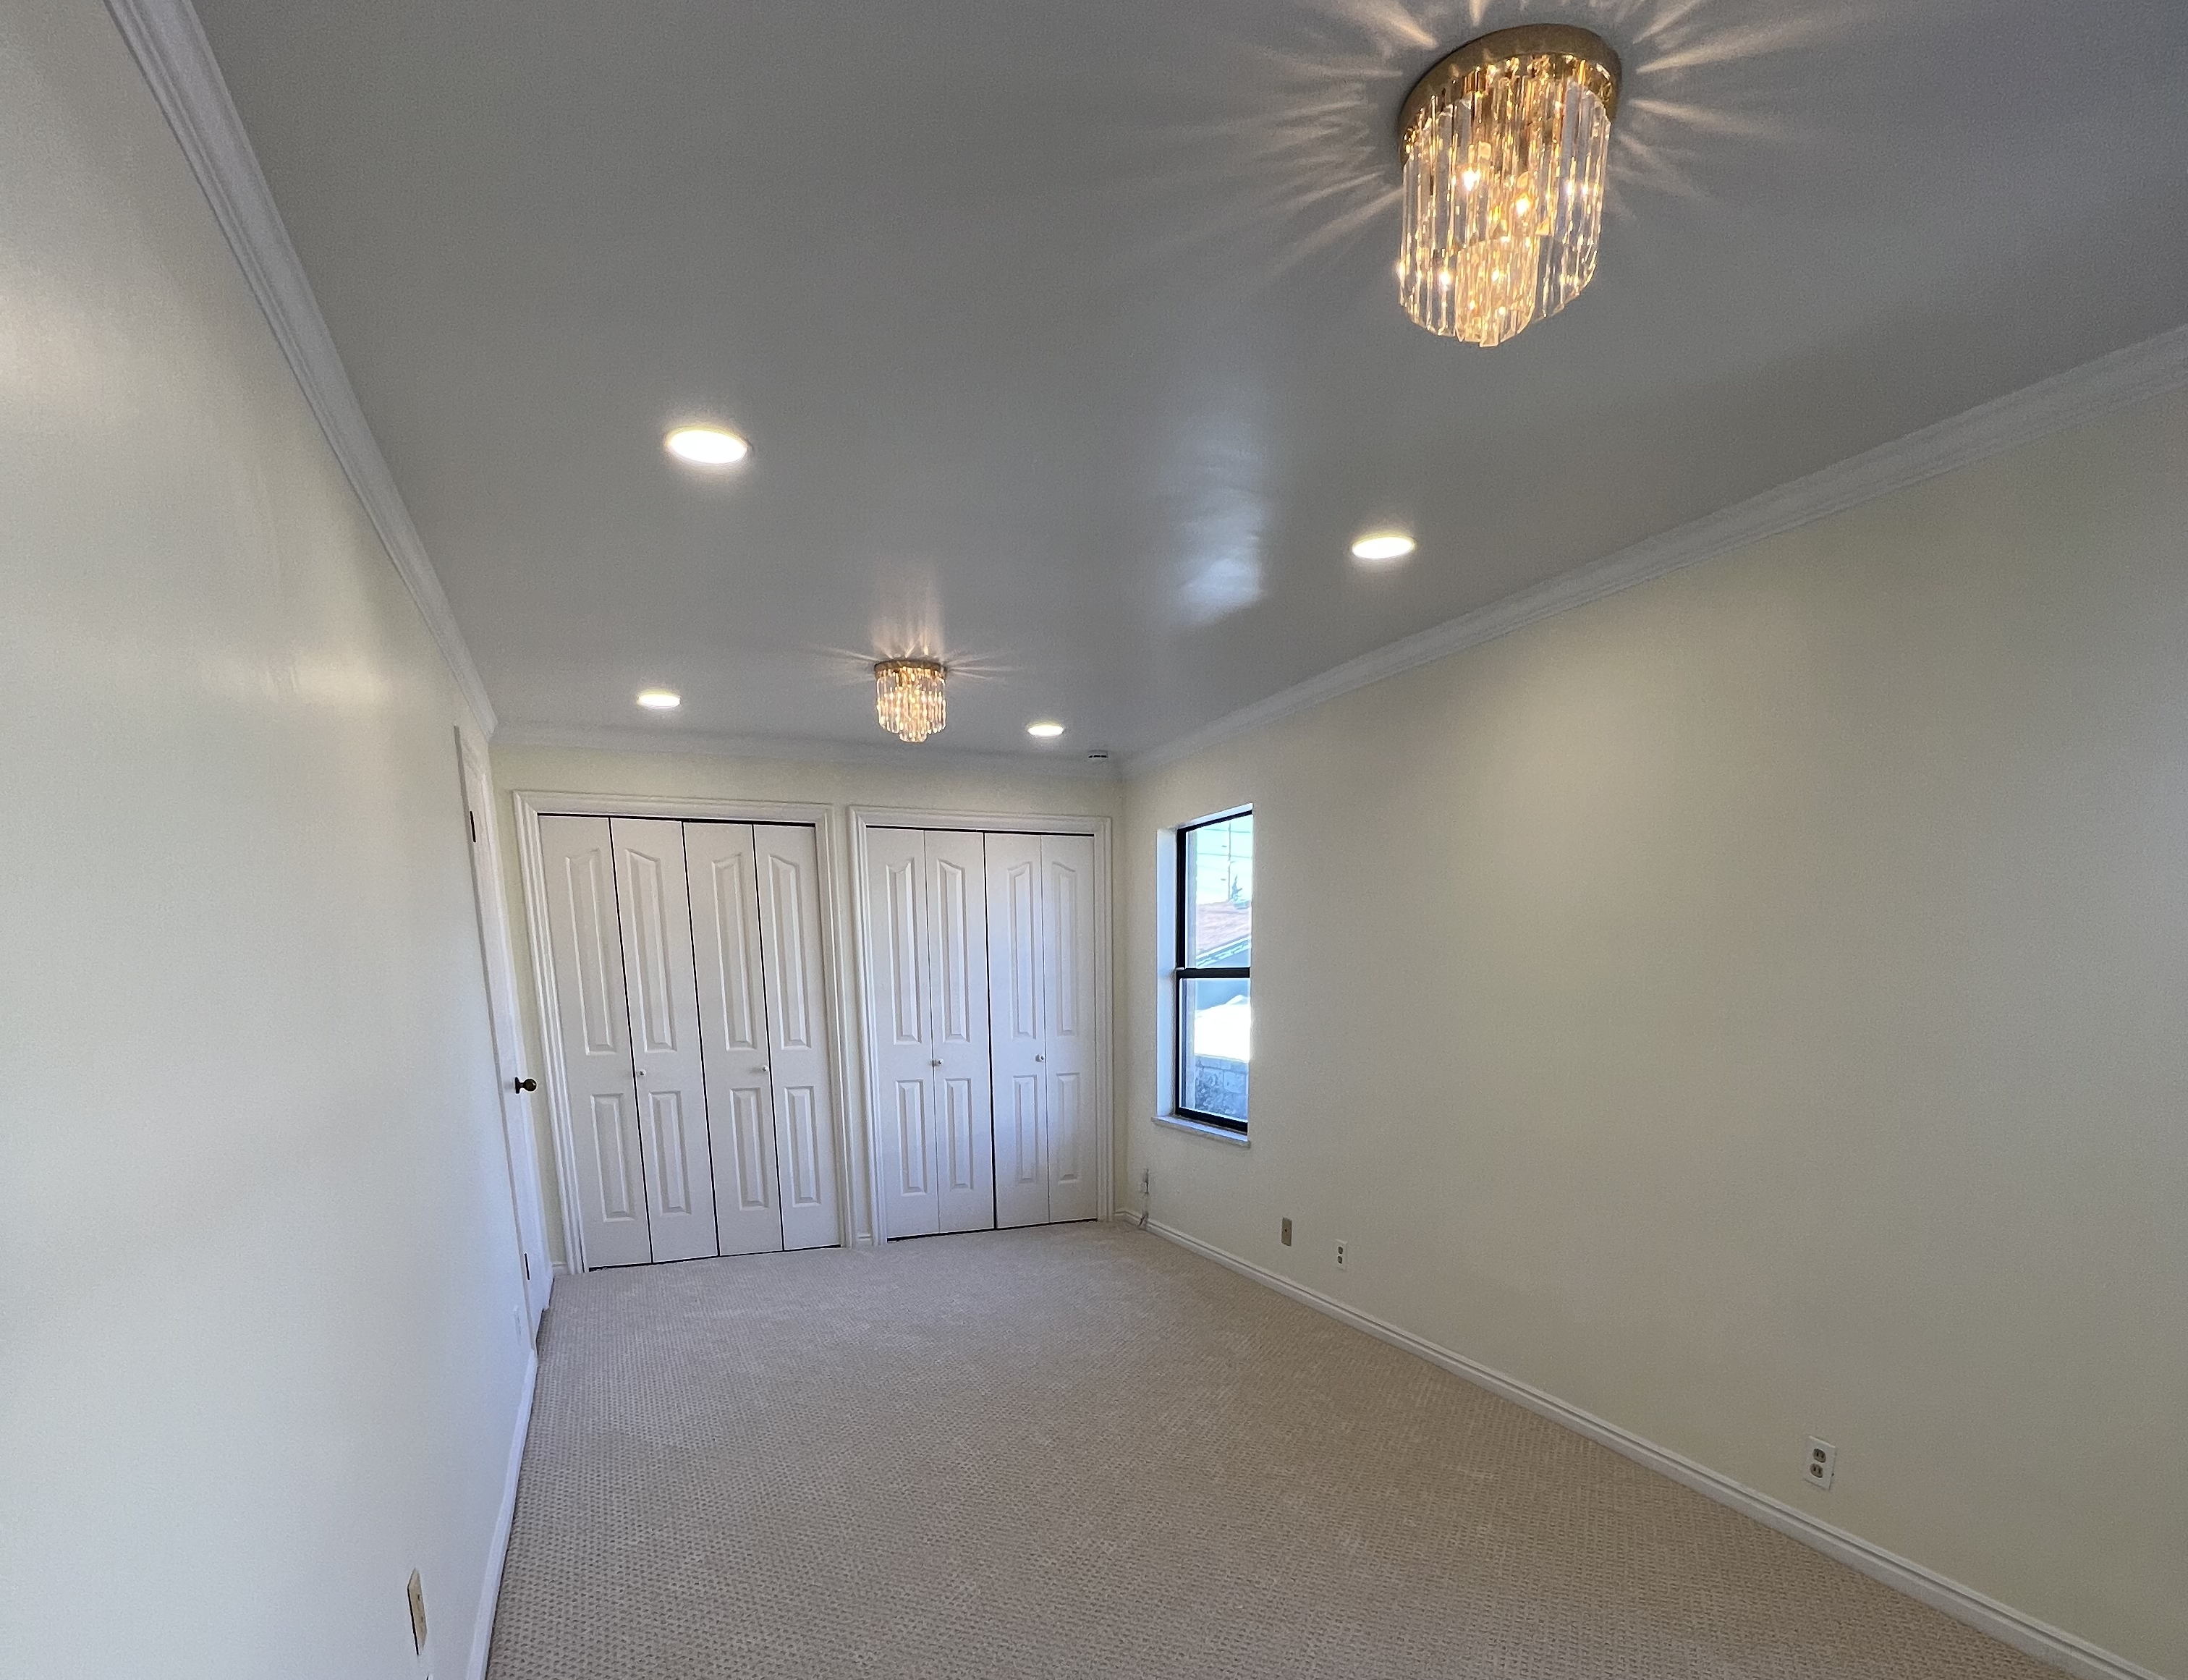
Bedroom

Planning on a renovation and need some ideas? I would love to see your place and help design the home of your dreams (for free)! We can discuss the look and feel you want, pick out materials according to your budget, and find a good contractor to help you. Just get in touch below!
Your message has been sent

